
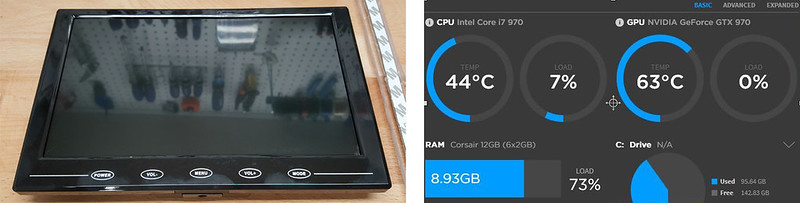
I have wanted to add some sort of system status display to a build for a while now, and decided it was time to do it. I was initially going to place a small 4in display on the front of the case where you can mount an SSD, but decided to go bigger. Found a 9in HDMI display on fairly cheap on Amazon. Not very high resolution, and the screen quality is not great, but works well for the intended purpose, which is to run the CAM dashboard on it, looking something like this.
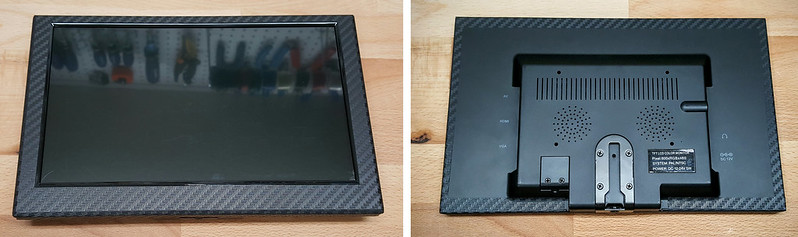
Wasn’t a fan of the glossy finish, so wrapped it in Carbon Fibre vinyl. It also has a camera shoe mount which made attaching it to the case easy. I like this option as it allows the screen to swivel a bit, so I can point it towards me. The buttons are pressure sensitive, and aren't’ affected by the vinyl. I doubt I will actually use the buttons much, as it simply powers on with the system, and also comes with a remote for settings navigation.
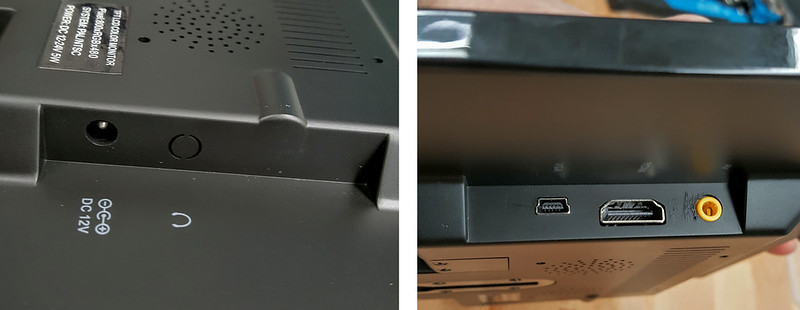
Here is a view from the sides to see the connectors. Requires a 12V power source and either HDMI or VGA (via a VGA to Mini USB adapter) to run the display.
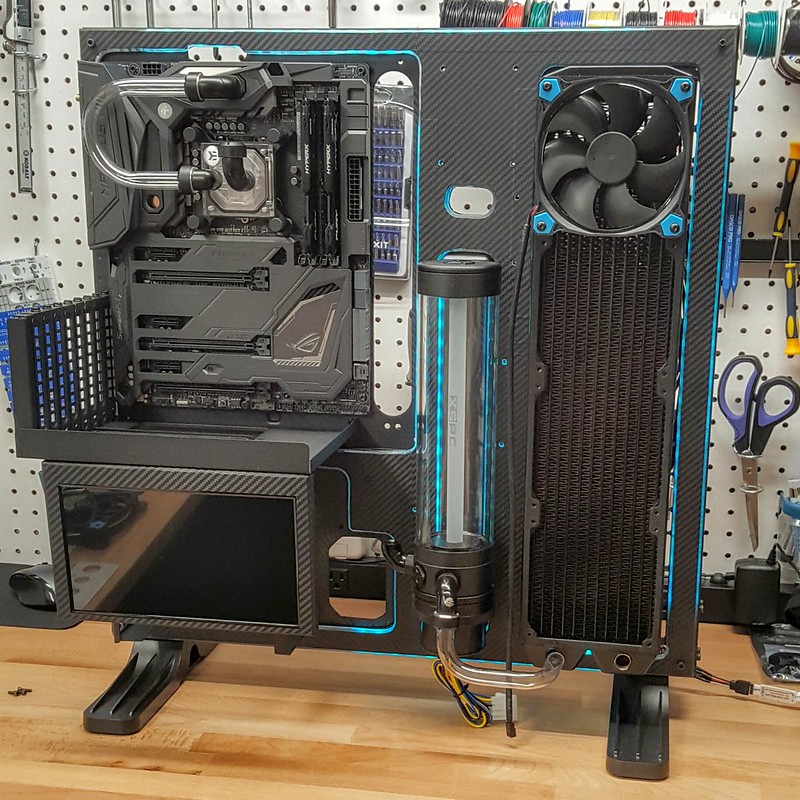
Here is a picture from earlier in the build log, showing it mounted to the case just below the GPU support. I will get additional pictures of the software running on it once I get the system fully built.
I also decided to add a PCIe USB 3.1 expansion card to the build. The ASUS ROG Maximus Formula VIII has a ton of USB 3.0 ports, and even 2x 3.1, one of which is the new Type C connector. Problem is, I have a lot of peripherals, and with the addition of the Oculus Rift, needed more ports. I have tried various USB 3.0 hubs, but have had issues when using them with the Rift, so going the direct route.

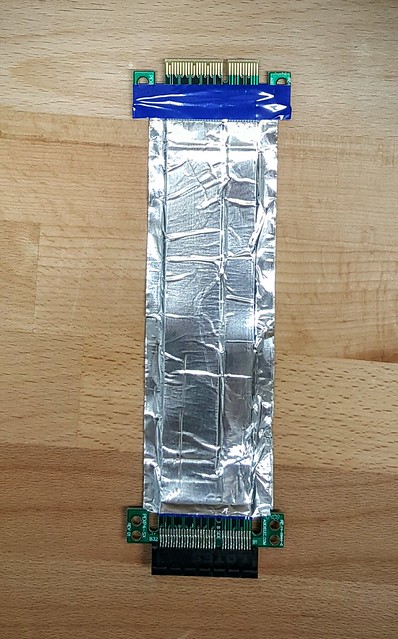
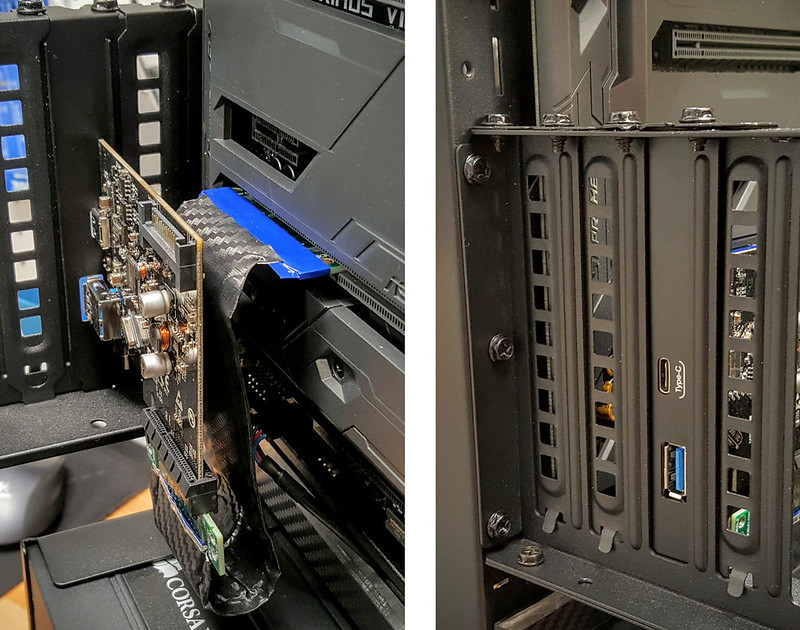
The card is a PCIe x4, so I had to purchase a riser cable to mount it. It was already shielded, so I just wrapped it in the same Carbon Fibre vinyl to eliminate the reflection. In order to utilize the full current potential for USB 3.1, you have to attach a SATA power adapter as well.
Install was pretty simple. It sits directly behind the GPU, and will be pretty much hidden from view. It is also very stable which was nice to see, as that was one of the concerns I had with the vertical GPU mounting method this case uses.
Hello I would like to know if you can send me a how to DIY on 9in HDMI display . I love this I also have core p5
ReplyDeleteHi Zane, I was wondering if you could elaborate on how you got the CAM dashboard software to display on the 9in display. I would love to implement this on a build I am working on for myself. Thanks in advance!
ReplyDeleteMissed this comment. Sorry.
DeleteI have a new post and video with a lot more detail around a new System Display panel I just installed.
http://mrarmageddon.blogspot.com/2017/01/pc-upgrade-mounted-system-stats-display.html
How did you made it show the stats?
ReplyDeleteCheck out this post for more details.
Deletehttp://mrarmageddon.blogspot.com/2016/06/project-open-core-hardware-system.html
Génial j'ai ma réponse et merci pour ce magnifique Mod ;)
ReplyDelete