As stated in the OP, part of the reason I decided to build this sytem was to put together the hardware to provide a good VR experience with the Oculus Rift. Being that the GPU is the most important factor in this, decided and upgrade from my GTX 970 was in order.
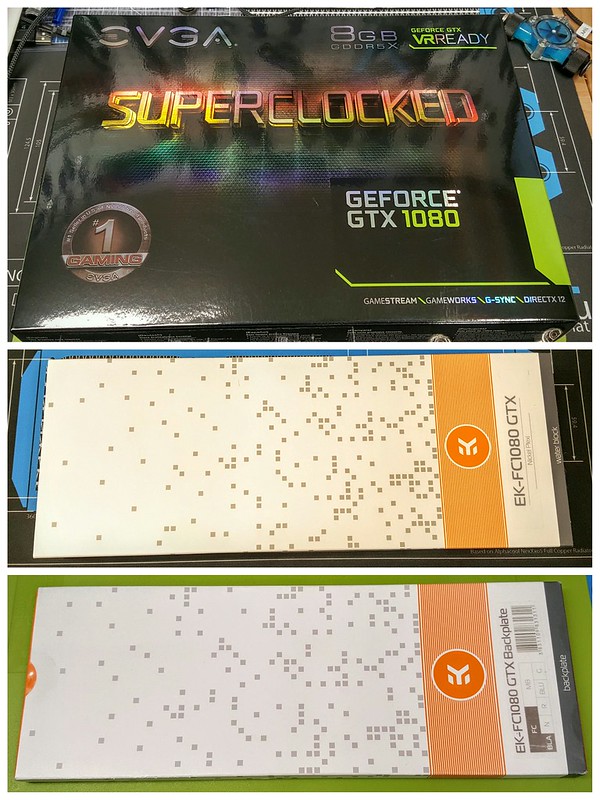
Timing worked out pretty well, as Nvidia recently released their “Pascal” cards, and I was lucky enough to snag an EVGA GTX 1080 SuperClocked Edition card from Newegg’s first available batch. Didn’t even have to wait in a queue. Since that particular card although overclocked out of the box still retains the reference PCB design, I picked up an EK Waterblock and Backplate to go with it.
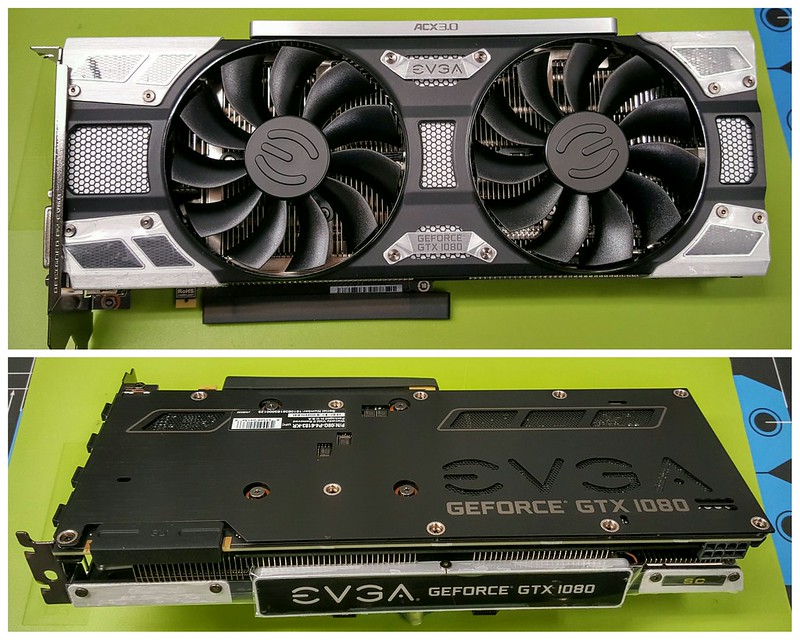
I have to hand it to EVGA, they made a really good looking card with the 1080. Even though the stock cooler and backplate are coming off, wanted to take a sec to show what the card looks like before it gets “naked”.
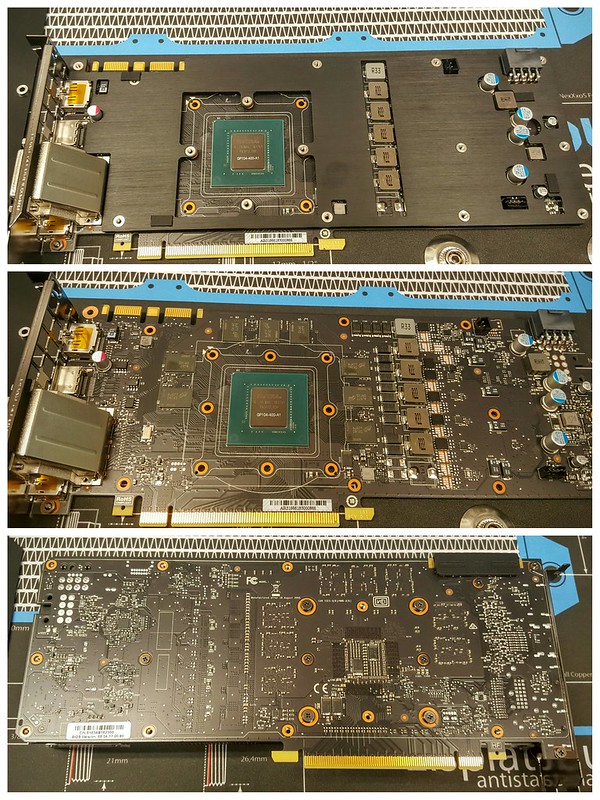
Removing the cover was very simple, and I was surprised to see a location where LED lights plug into the PCB. On this particular version, the LED is white only, and the EK block covers the pins, so I didn't pay it much mind. EVGA ships some sort of pre-shroud that goes between the cooler and the card. It actually looks really cool, and it would have been great to be able to incorporate it into the water block, but they aren’t compatible, so it had to go.
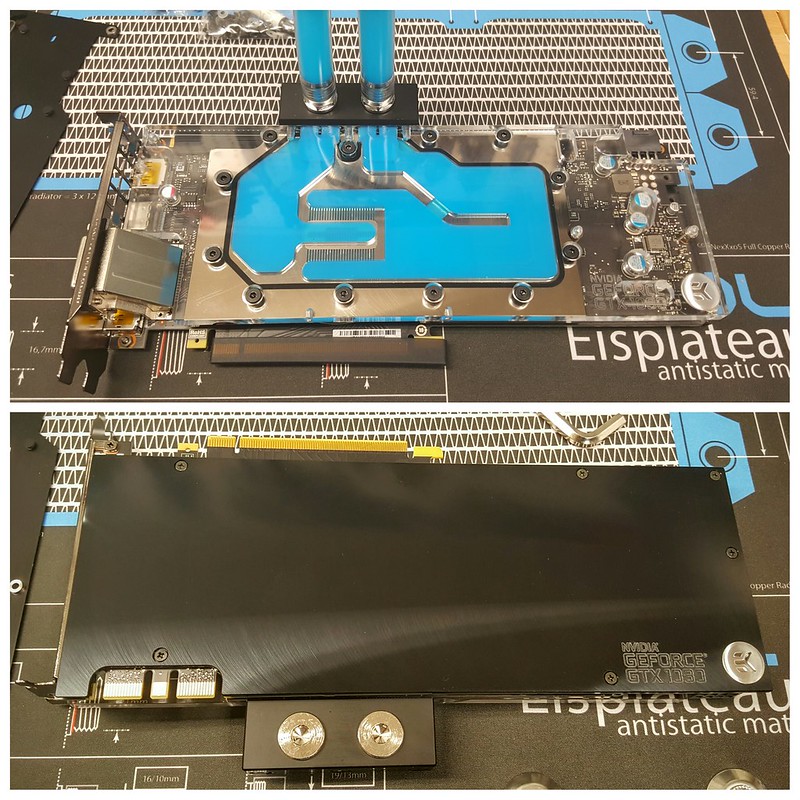
Behold a naked GTX 1080 SC. Important to note, that the stock EVGA backplate will NOT work with the EK Waterblock. I had to purchase the EK backplate separately.
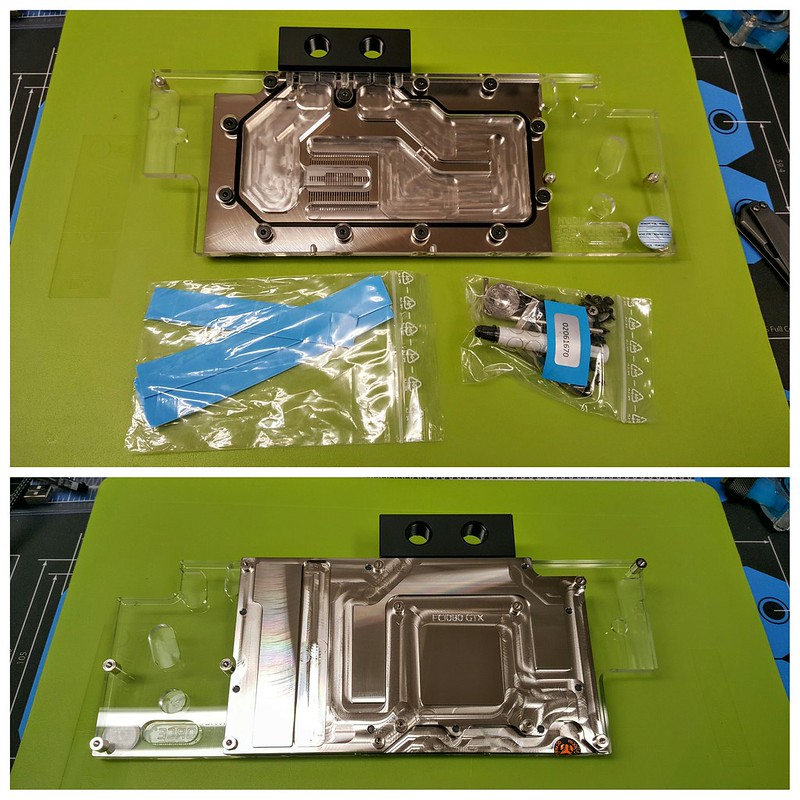
This particular EK block is the Nickel & Plexi combo. I like the look of the nickel, and wanted to be able to see the fluid as it goes through the block, so this really was my only option. I wish they made one that was a nickel / acetal / plexi combo that looked all black, but still showed the fluid in the middle. Since they don’t make one, I did a few mods to achieve that look.
Here we have the card installed and a quick fluid test to see how it looks… and it looks great! The backplate is very nice as well.
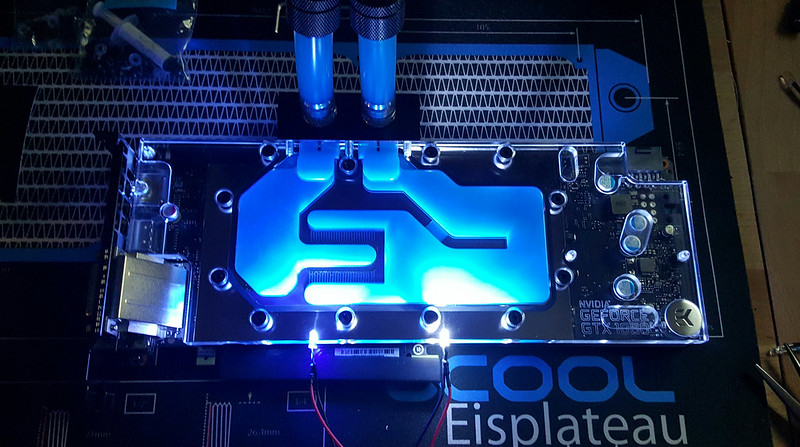
I wanted the fluid to glow blue in this card, and was initially planning on using the two pre-drilled 3mm holes for LEDs on the block. Gave them a shot, and found they are too bright of a focal point, and wash out the color of the fluid as seen below.
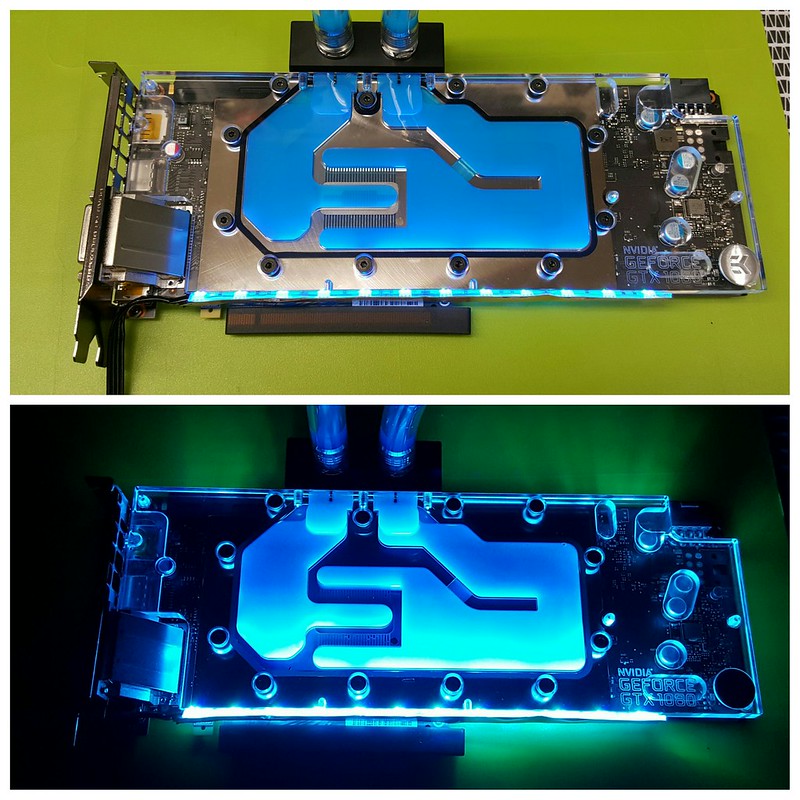
As a solution, I decided to add more RGB LED strips to both the GPU and CPU Waterblocks. Not oly does this allow me to get the color to match what I have going on around the case, but I can also tone down the brightness levels to a point where it just glows but doesn’t blind you.
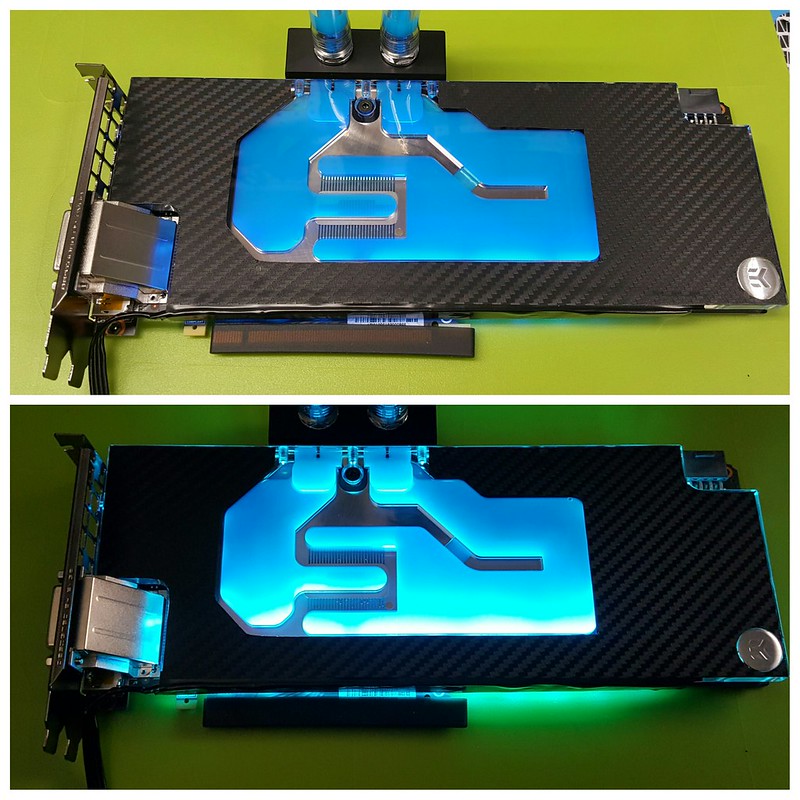
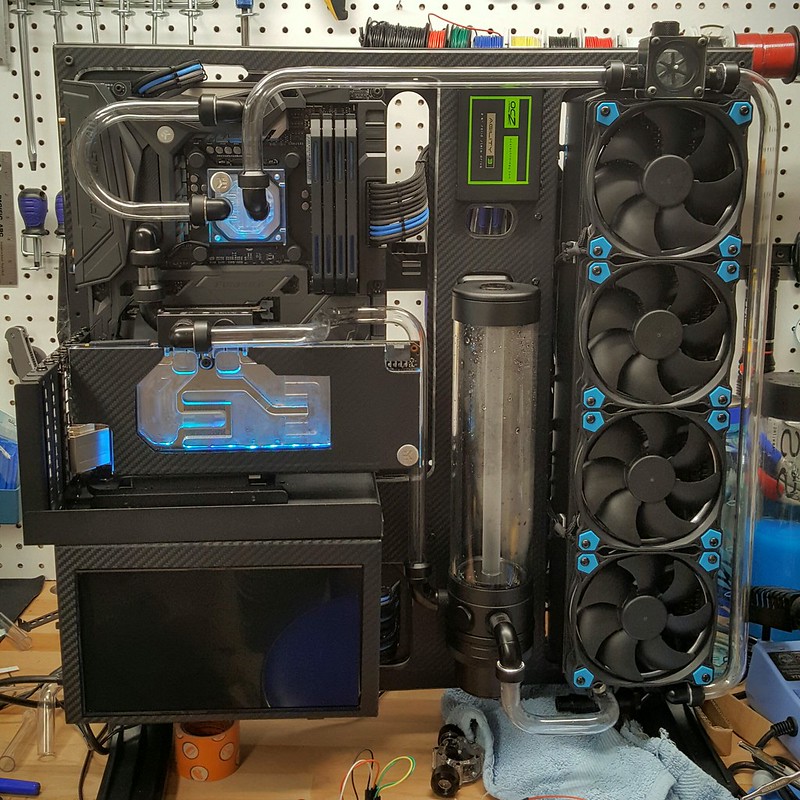
As nice as the photo above looks, all the little circles and cutouts glowing was a bit too distracting for my taste, so I went about using Carbon Fibre Vinyl to wrap the face of the block. It worked really well, and helps focus the attention on just the fluid, and also glows around the exterior of the block similar to how I have the case setup. They go really well together.
I drained the test fluid and installed the card on my case. It looks really good sitting where it does, and as can be seen below in both the CPU and GPU blocks, the subtle blue glow really works well. Can’t wait to finish my tubing so I can get some coolant running through this build!

No comments:
Post a Comment