
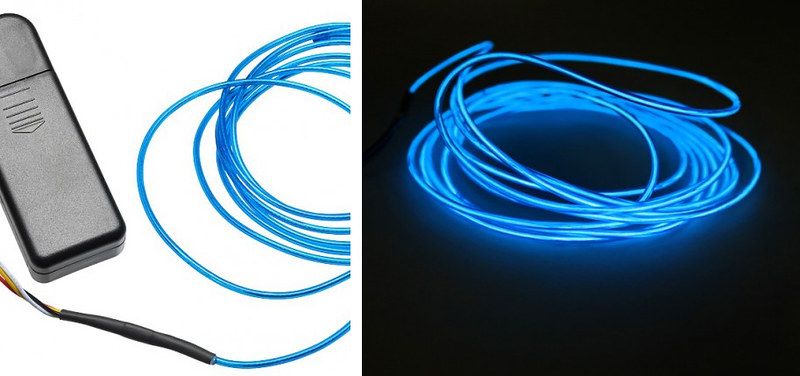
So I purchased some Blue EL Wire to try it out. It would have worked great in regards to the install, as it is much smaller than the LED strip, and would easily bend around the curves in my acrylic panel. The brightness level was pretty low, but that was fine as I just wanted a subtle glow and not glaring lights. The problem was the whine… a high pitched, very annoying electrical whine. I even purchased a different transformer hoping it would fix the problem. It was a tad quieter, but still not something I could have going next to me a few hours a day. So threw out the idea of using EL Wire.
Aside from the electronic whine, the decision to go with the LED strip was also driven by the fact that the ASUS ROG Maximus VIII Formula has an RGB header allowing my to sync an RGB LED strip to the other colors emitted from the Motherboard. That kind of customization cannot be achieved with EL wire, so I went with a 6ft RGB LED kit that included a 44 button IR Remote and 4pin MOLEX to a 12V barrel plug adapter. The back of the strips are adhesive as well. I played around with the different color options, and the flexibility of this kit is excellent.
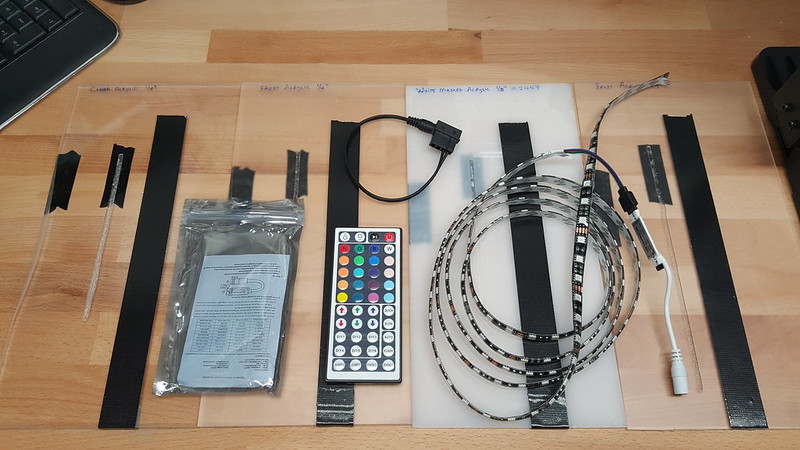
Now to rewind time a bit. Before I started cutting my acrylic panel, I and to decide which type to go with. When deciding on which type of acrylic panel to use, I tested the following plastic samples:
- 1/4in Clear
- 1/4in Frosted
- 1/8in Clear
- 1/4in White
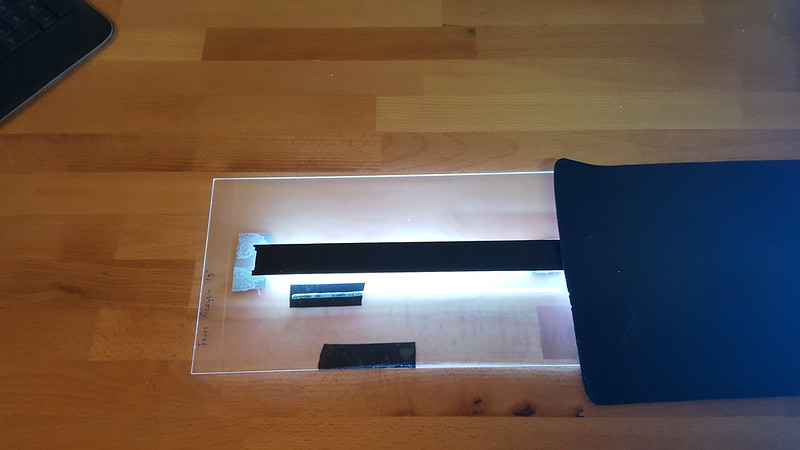
I cut a “U” channel into each piece and also shaved a beveled edge on on side. Placed the LED strip behind the panel and fired up the lights to see which gave off the right amount of light around the edges.
First up is the 1/4in Clear. Since you have already seen the larger version, you know this one was the winner. It had just the right amount of light transmission along the edges, and was thick enough for me to shave a 45 degree bevel so the light around the edges shines up and not just out.
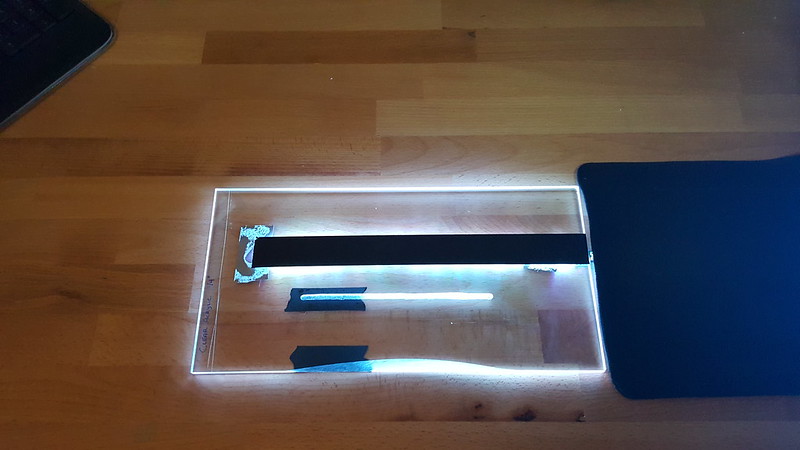
This is the 1/4in Frosted sample. It was ok, but diluted the light a bit too much around the edges.
Same as above but 1/8in this. Found this to be too thin for me to use at all.
Last up was the 1/4in White sample. I actually thought this would work really well, as I have used they type in my last build, and it did really well.
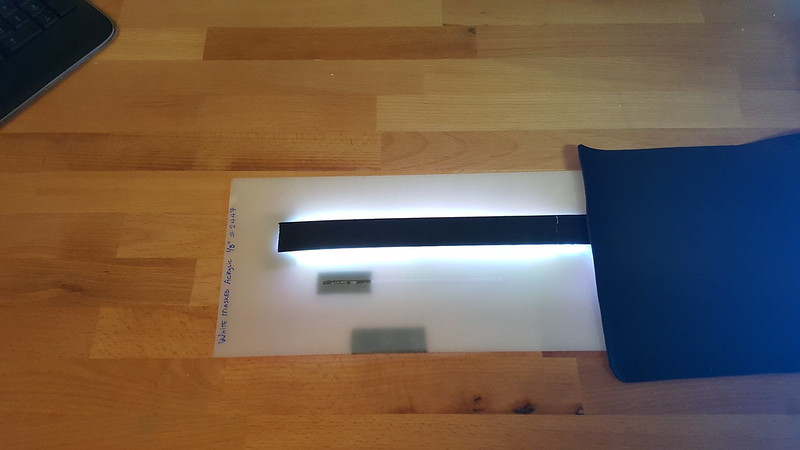
The difference is that in the last build, the objective was for the light to shine up through the panel, and not out around the edges. Turns out the white panel doesn’t do the edge glow well at all.
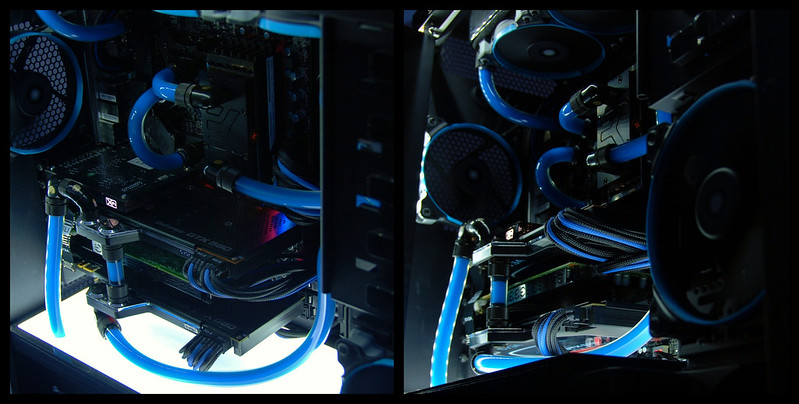
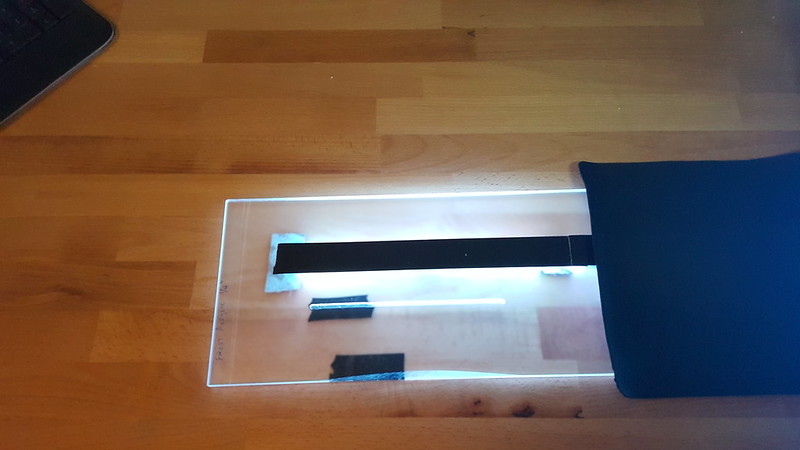
So with the winner selected, I purchased a 24in x 24in panel, and got to work as shown in the previous posts. Here is a picture of the sample that I was playing with to make sure it would give me the desired glow.

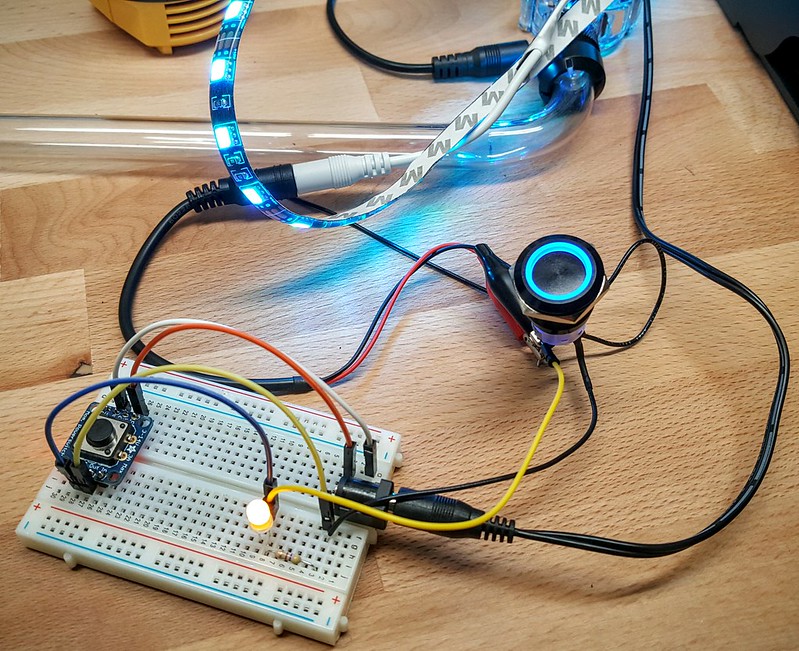
I also had to make sure to get the wiring correct for the latching vandal switch that will be used to turn on and off the LED strip. The switches I used in a previous build couldn't take a direct 12v current. So I tested this one using a breadboard with a resistor so I wouldn't accidentally burn it out. After a bit more research, this one in particular can in fact take a direct 12v load, so no need for the resistor, and it will be wired into the case after I install the LED light strip.
No comments:
Post a Comment