As mentioned earlier, one of the custom aspects of this build will be a light emitting Acrylic panel that encompasses the entire front panel of the case, with cut-outs for the components to sit inside. The idea is the panel will “glow” around the components as well as the outline of the case itself. I went through a lot of testing to figure out what kind of acrylic panel to utilize for this feature along with different lighting sources, and will cover that in a future post. For now, going to show what I did to shape the panel for this build, in preparation for adding the lighting.
Below are the measurements I used to plan out where the cuts would be in relation to the components and existing cut-outs in the case.
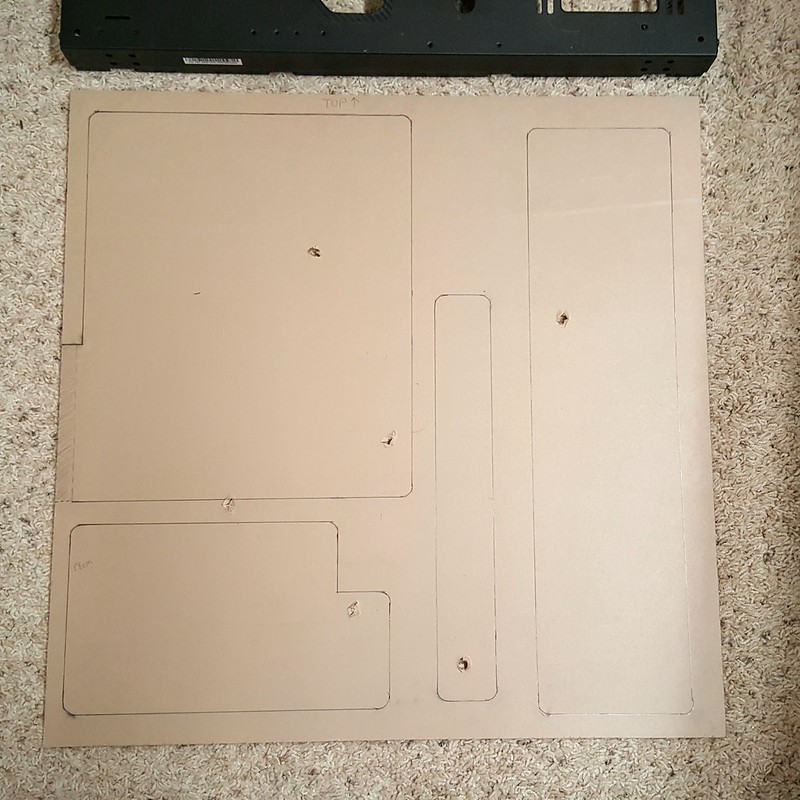
Starting off here is the Panel. It is 0.25in thick Clear Acrylic, and the dimensions are 24in x 24in to fit this case. I entertained the idea of using the acrylic that came with the case, but it seemed more ridged and brittle, so decided against it, and picked up this one for under $20 at a local plastics shop. I went ahead and outlined where the primary cuts will be, based om the location of the components.
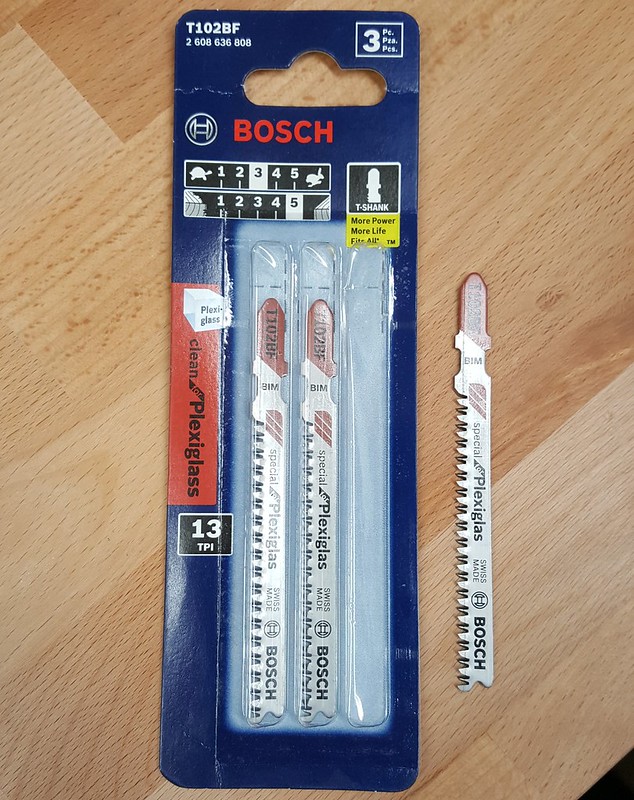
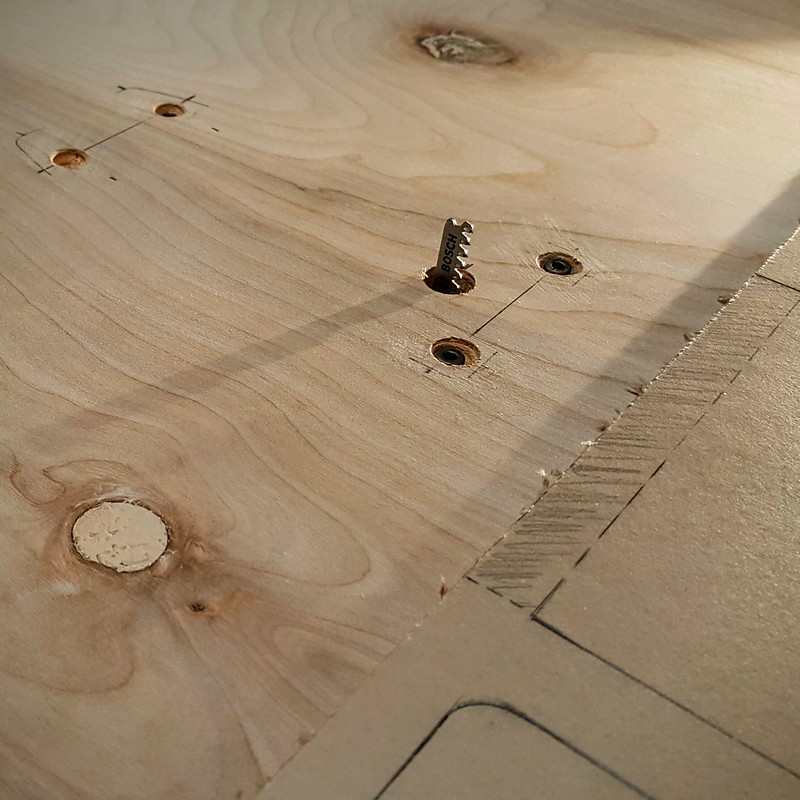
I will be fashioning a jigsaw cutting table and picked up these blades to help. They are specifically made for plexiglass, and have less risk of chipping or cracks when cutting. Starter holes were drilled into the panel before cutting with the jigsaw.
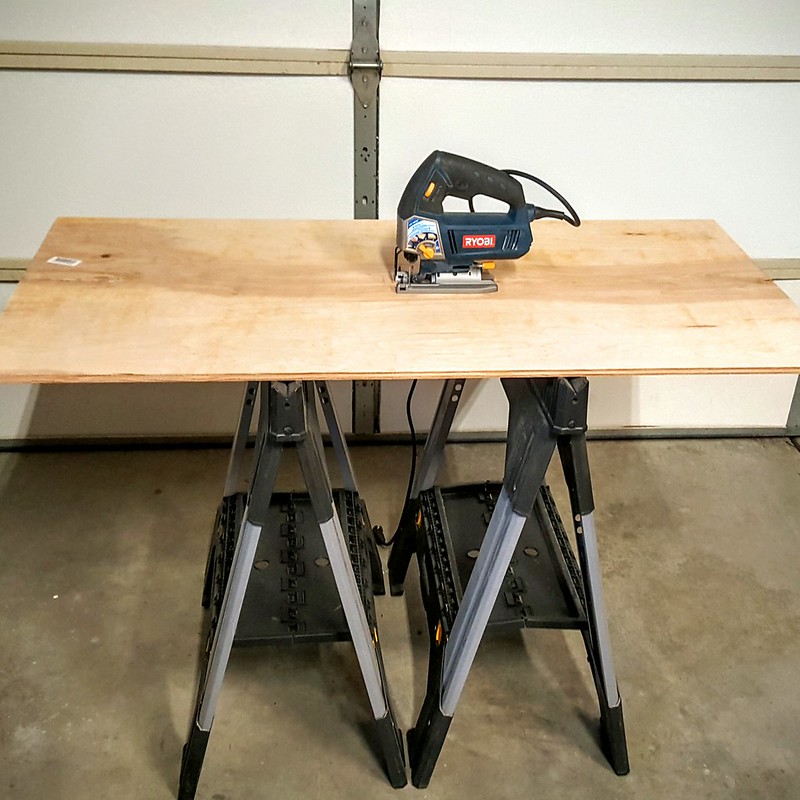
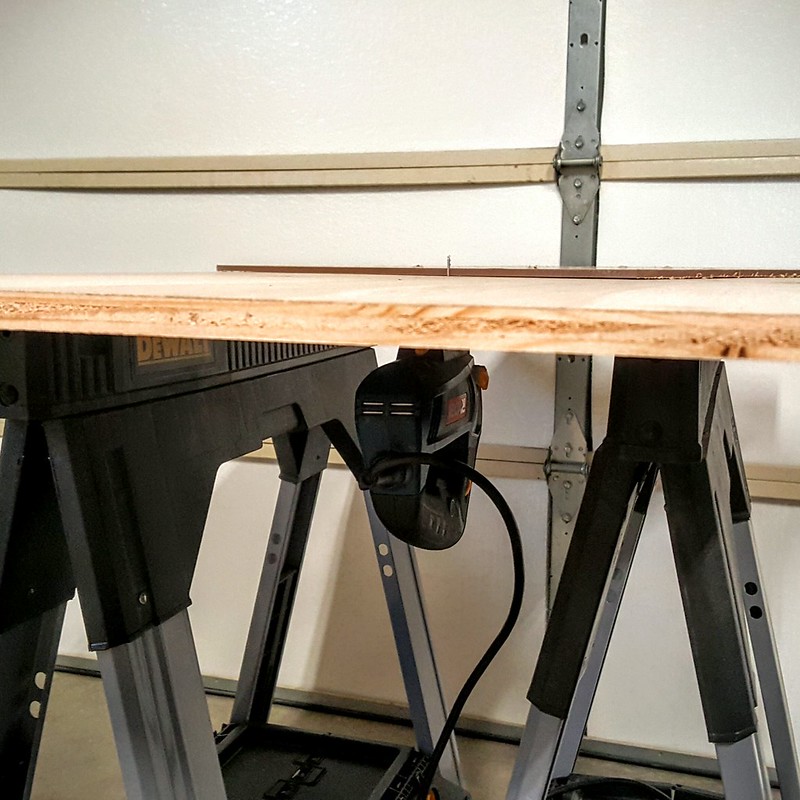
Here is the cutting table. Pretty simple, just bolted the jigsaw underneath, with the blade poking through just enough to cut the acrylic. I used ripsaw guide clamps to try and maintain straight cuts, but even with those in place it was still difficult keeping those lines were they should be.
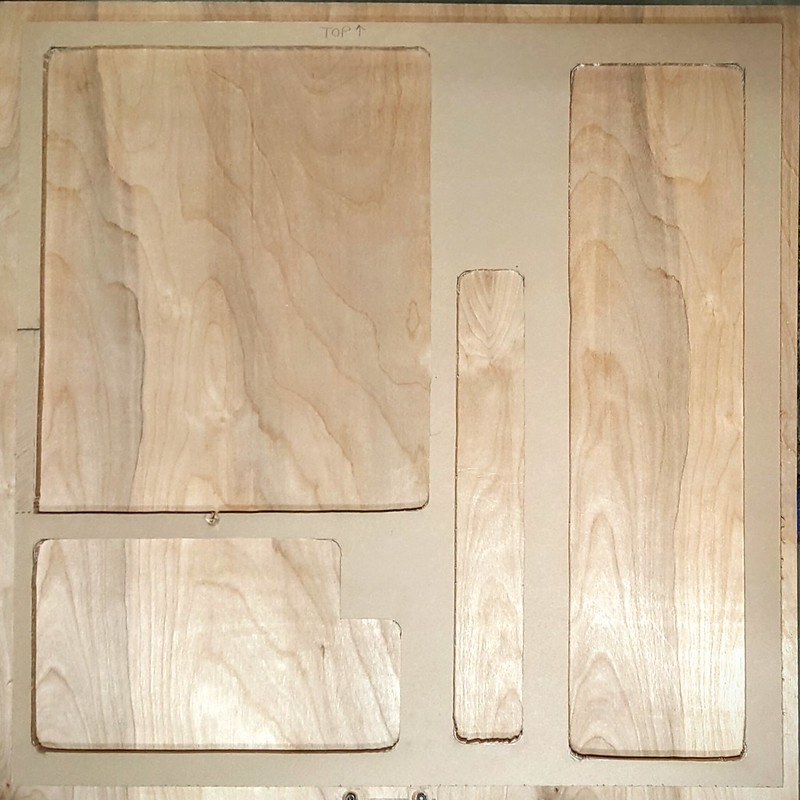
The cutting went well overall, but as mentioned before, had some challenges with straight lines. Will definitely have to do some Filing cleanup work to make the appearance acceptable. Was a little worried when cutting around the areas that thinned out, but turned out to be pretty easy to manage those cuts which was a welcome surprise.
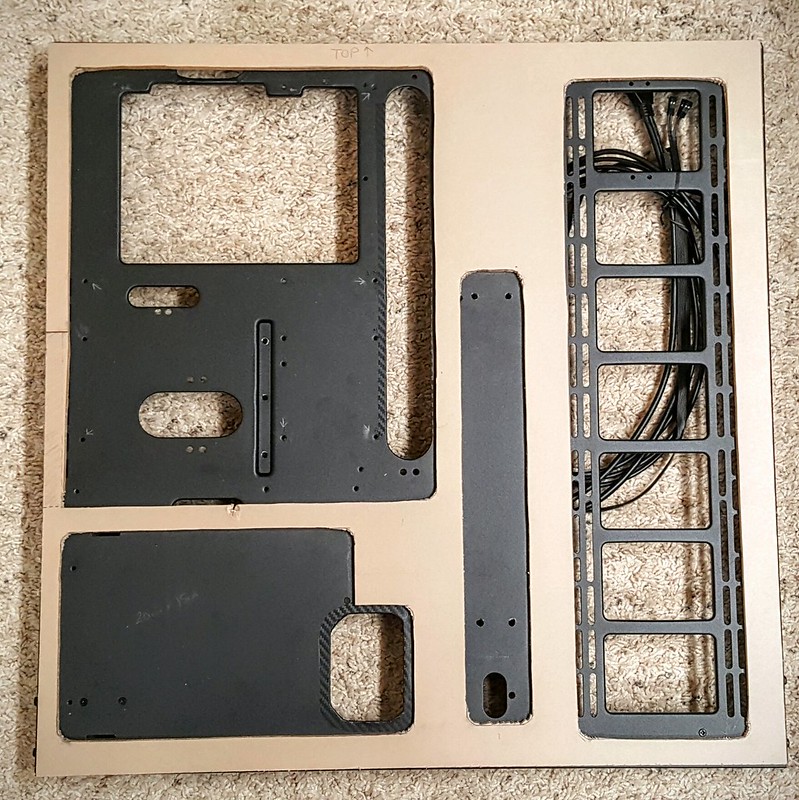
Here is what the panel looks like when applied to the case. The larger cut-outs will be for the Motherboard, Radiator, Power Supply, and Reservoir. Lots of cleanup work still needs to be done, but first on to cutting the channels out to male room for the LED strips.

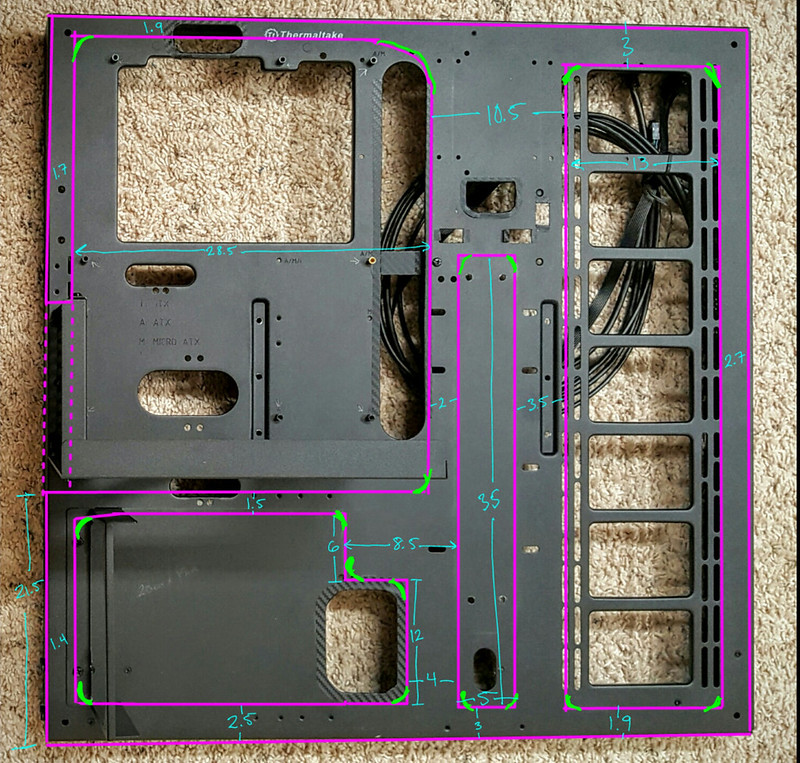
As for ther measurements, is it in inches or centimetres?
ReplyDeleteThe measured drawings are in Centimeters.
Delete