
Before jumping into the next part of the build, wanted to quickly explain the name of the project for those that don’t consider themselves “Tolkien Nerds”. The Tower of Ecthelion, also known as the White Tower, was a tall white tower atop Minas Tirith which contained the throne of the King of Gondor. That is where the name comes from, and I thought it very fitting for the particular case we are using in this build.

We will be using a total of 3 waterblocks for this build. To cool the Nvidia Titan X GPUs, we selected a Heatkilller Nickel Acrylic block. The pictures online made it look like the shroud around the acrylic was white, which would have matched our theme well. When they arrived, we found that they are actually a polished chrome look.
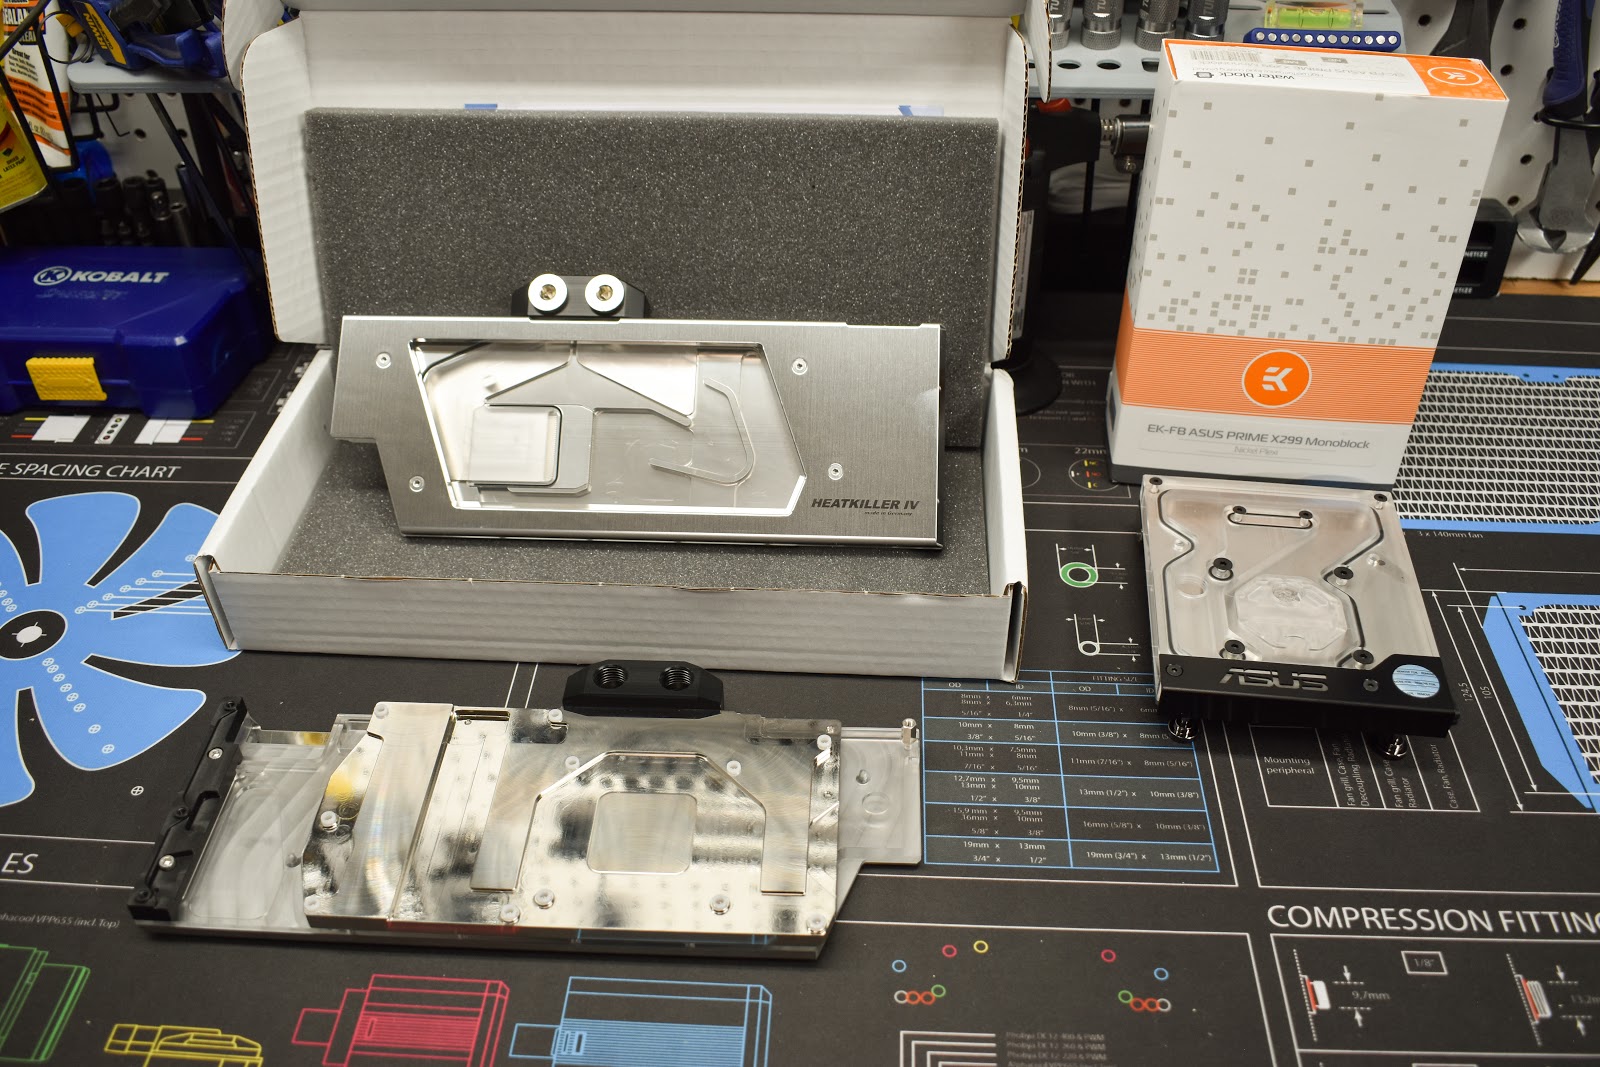
So I took out the matte white spray paint, and went to town. After a few coats, we had the exact look we originally wanted when purchasing these blocks.
x
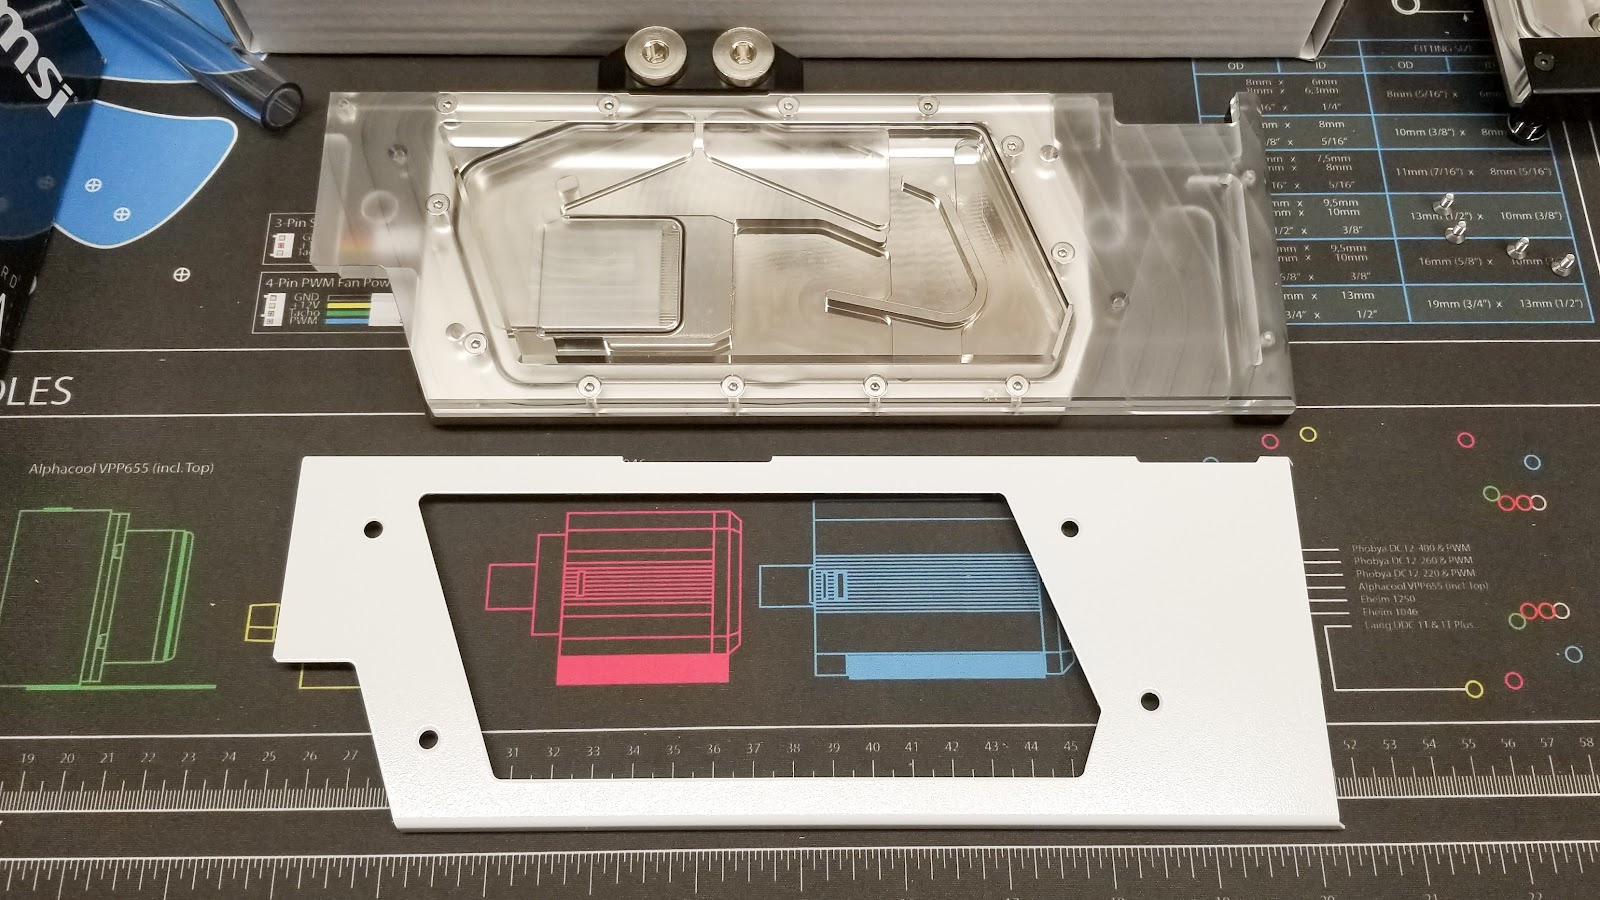
Much better!


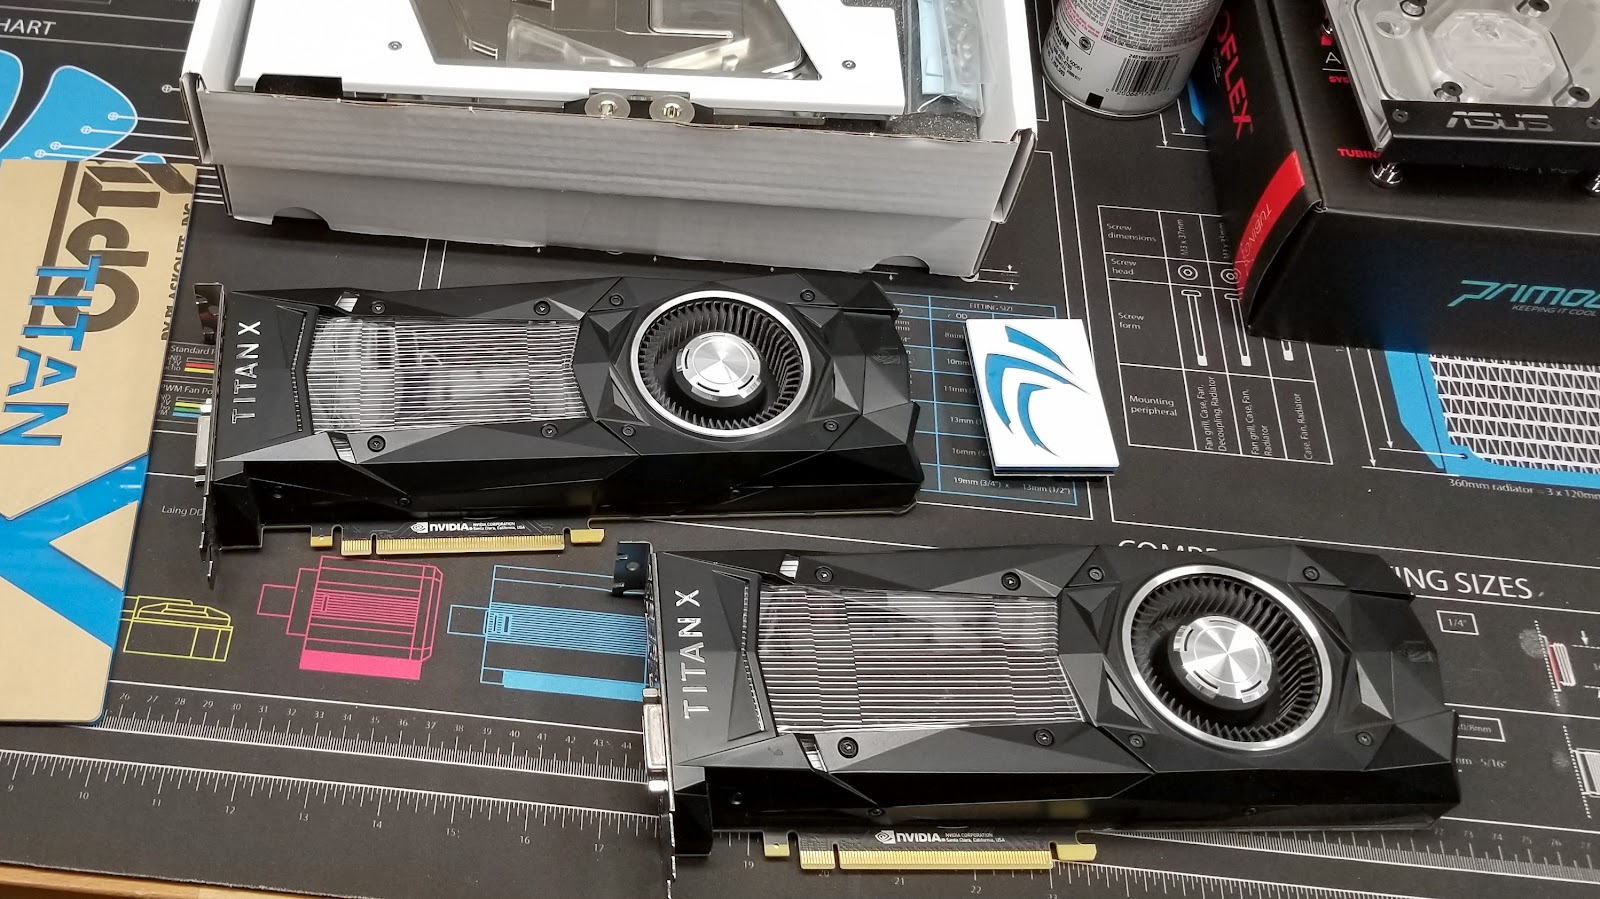
With the block mod out of the way, we set out to remove the stock blower heatsink from the Titan’s. These were fairly easy to take apart, but I found these particular cards used a lot more screws than the EVGA GTX 1080Ti SC2 had, which I recently installed on my primary rig.

Here we have the naked GPU, ready to be cleaned off and have new thermal pads applied.
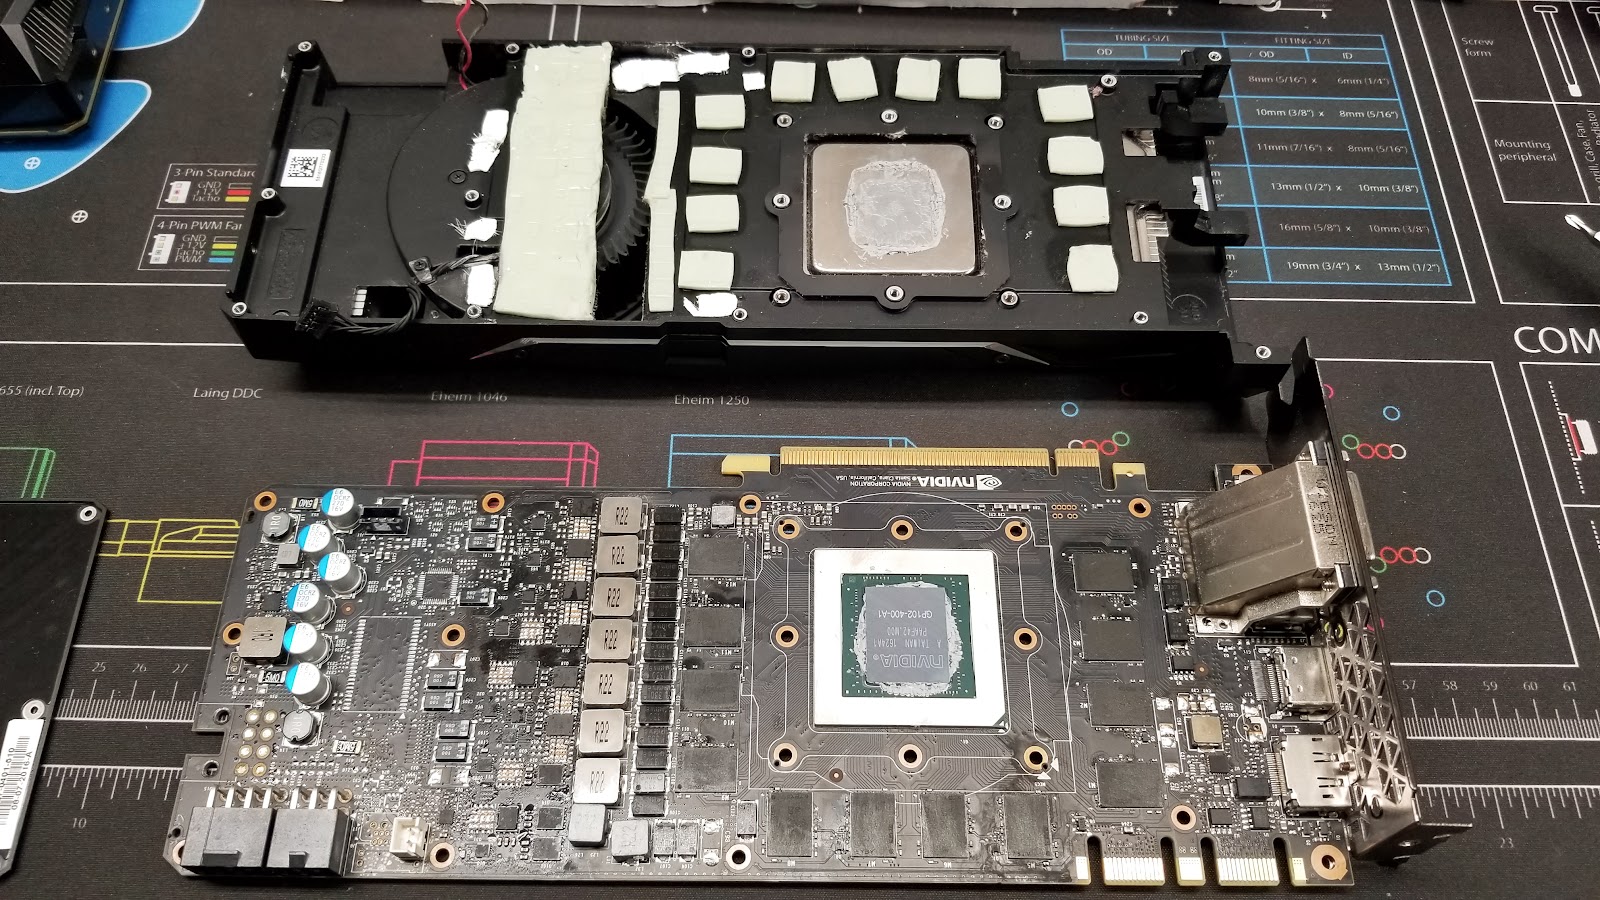

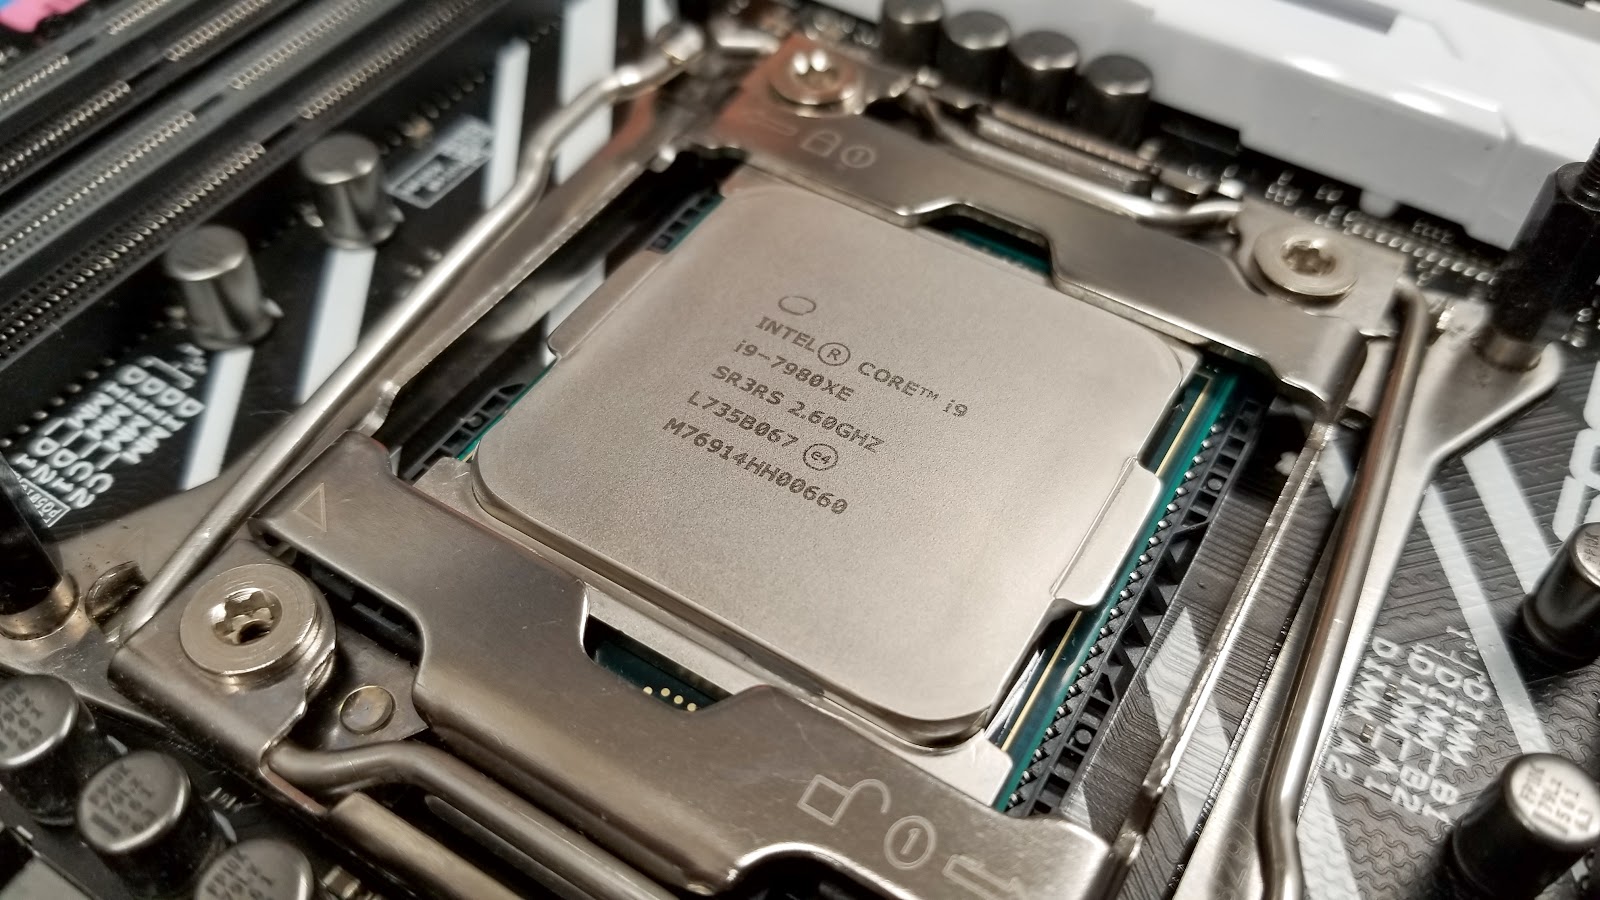
With the new pads on, we slapped on some thermal compound and attached the waterblock to the GPUs. Now on to the CPU block. For this build we are using an Intel i9-7980 Extreme CPU with an incredible 18 cores! When overclocked this thing gets HOT, so we went with a block that will do an excellent job cooling this large CPU, and part of the Motherboard as well.
Here we have the EK-FB ASUS Prime X299 Monoblock. Its large, heavy, and even has RGB LEDs on the bottom to give a nice “glow” to the fluid as it passes through the block.
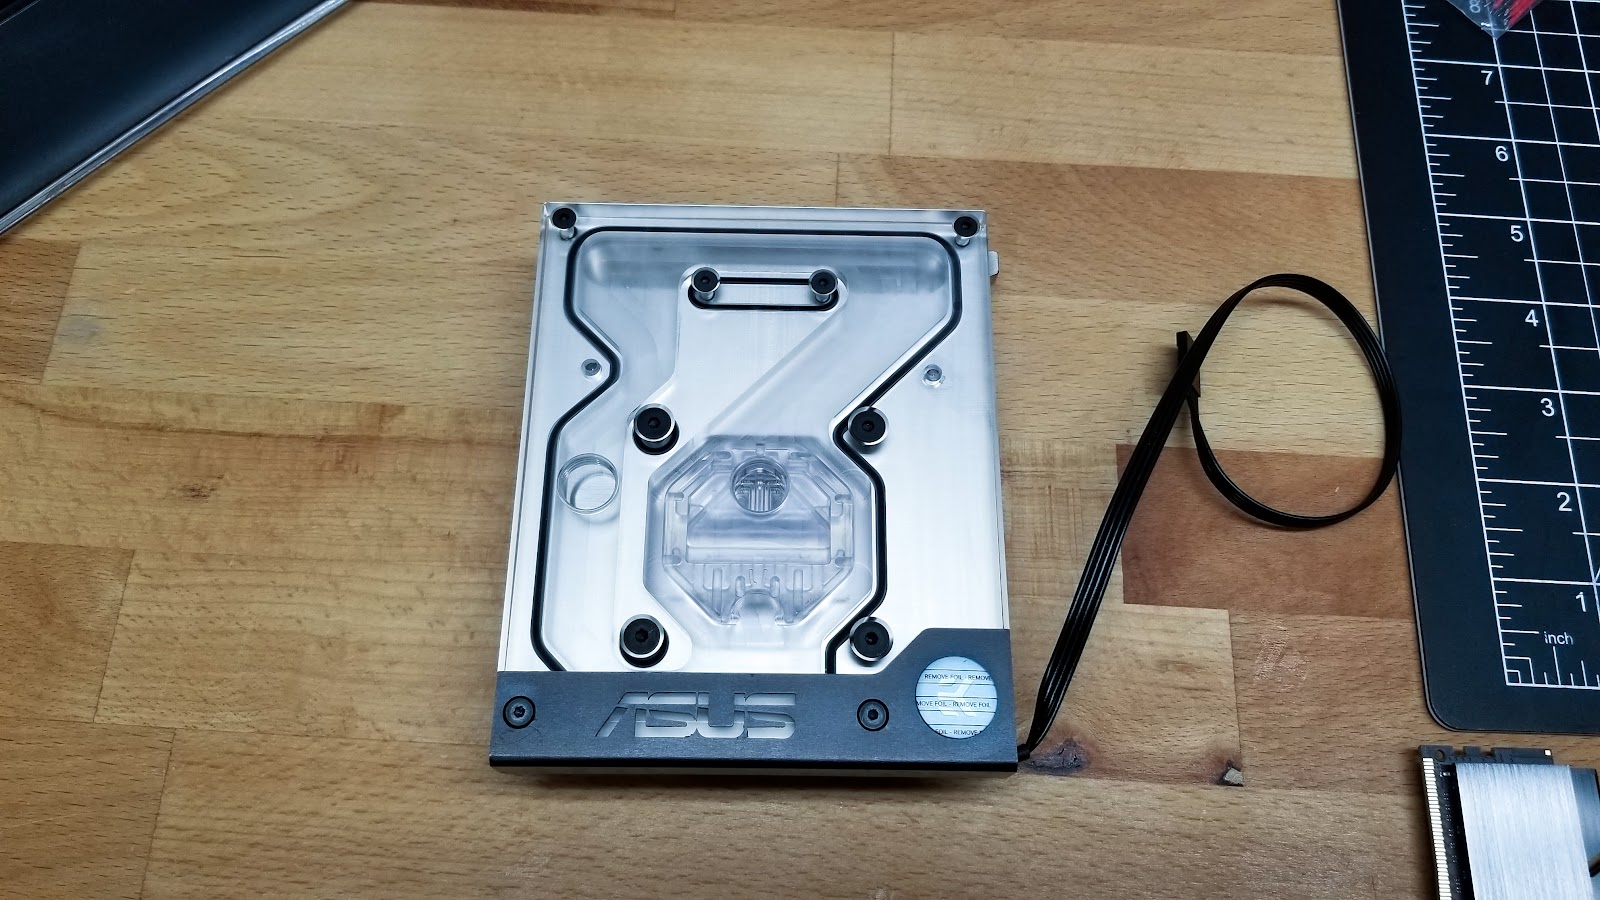

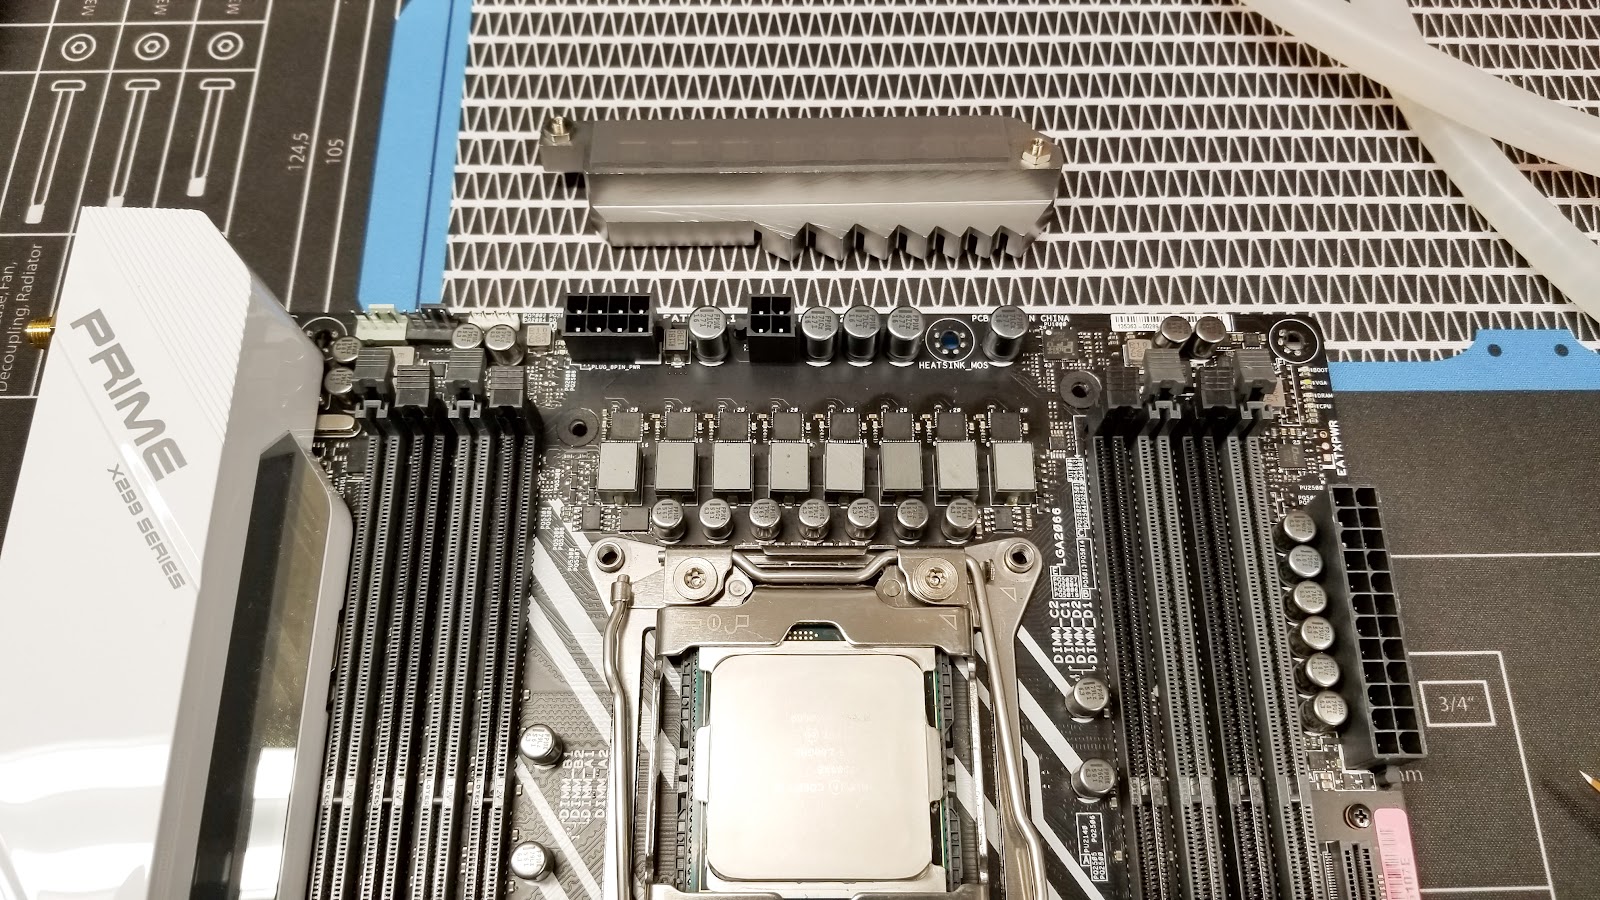
Since this is a Monoblock, it also cools the MOSFET modules on the Motherboard. We had to take off the heatsink over the MOSFETs as the first step, and then apply a new thermal pad.
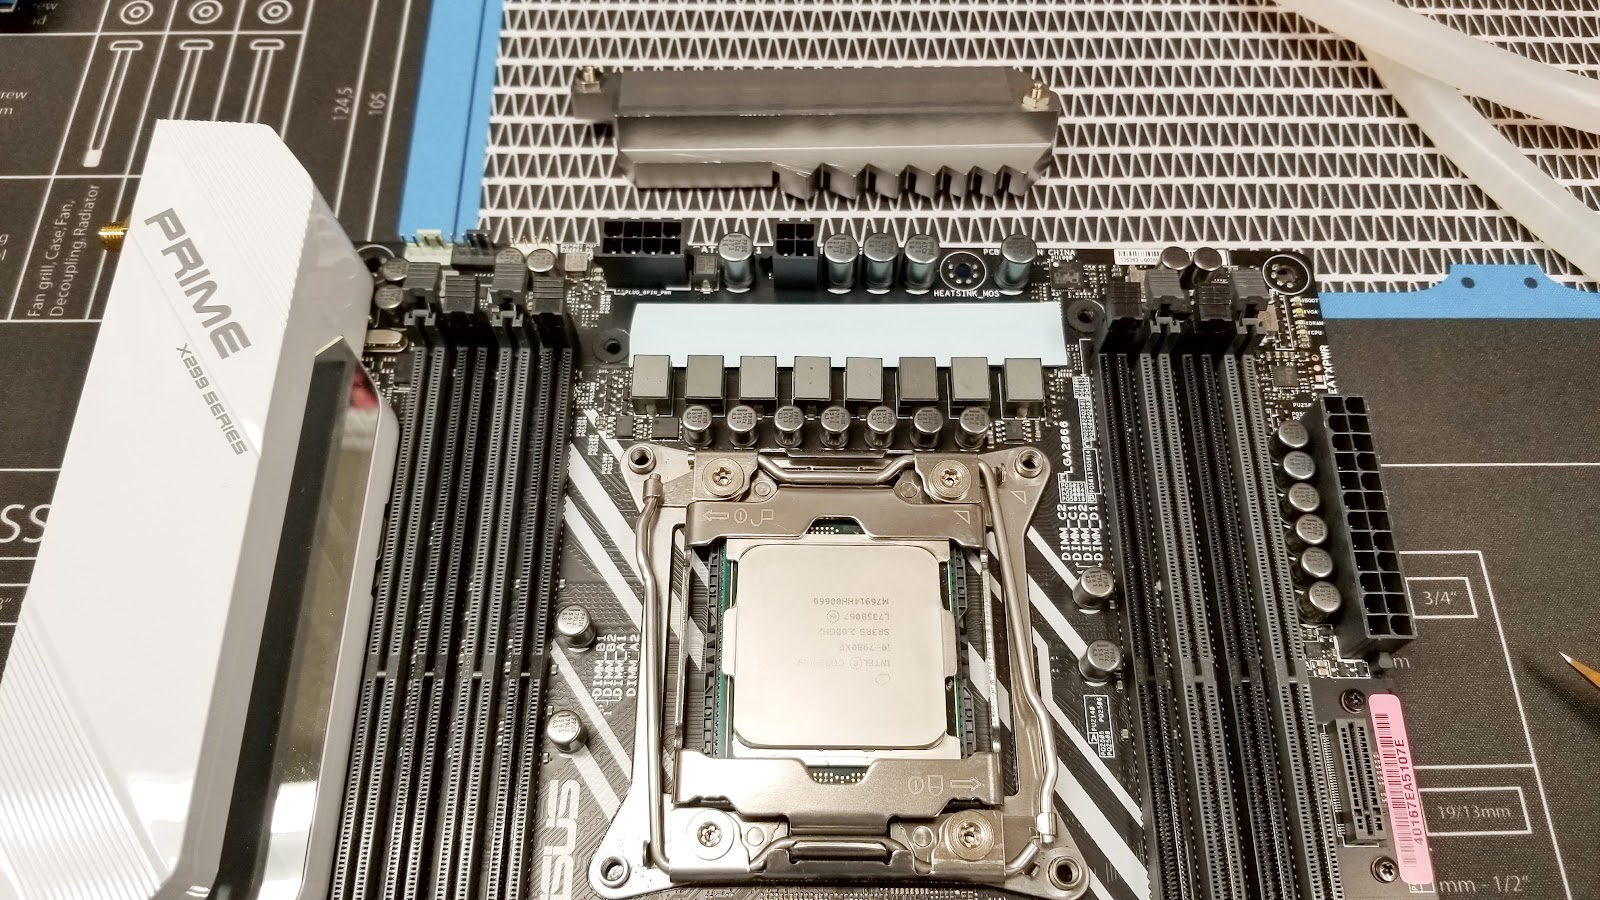
With that, we applied thermal compound to the top of the CPU and secured the Monoblock to the motherboard. Note that for this particular block, you will use the backplate that originally came with the heatsink cooling the MOSFETs.

And here it is installed. Great looking waterblock, and really excited to see it all glowing with opaque fluid running through it.

Next up, glaming up the GPUs with color acrylic backplates.
To jump to other parts of this build log, head over to the Project Index.
To jump to other parts of this build log, head over to the Project Index.
No comments:
Post a Comment