
Case Cuts / Holes
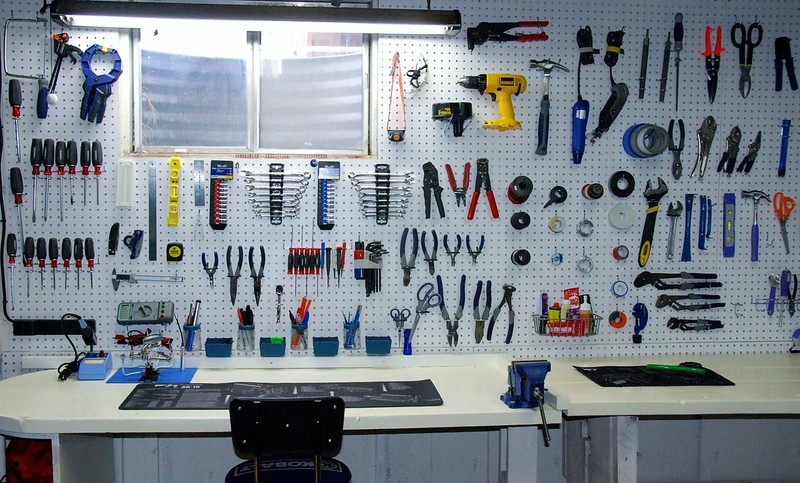
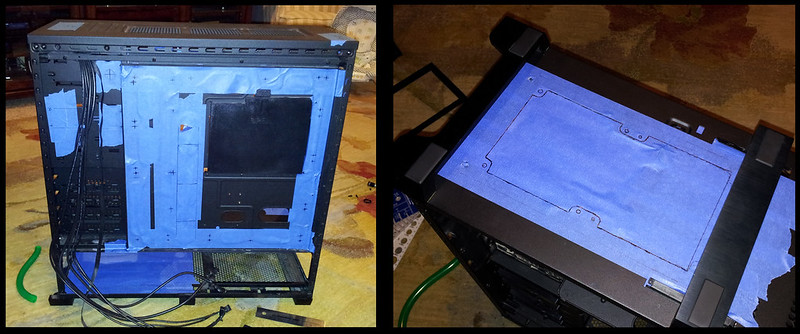
I decided to remove all of the rubber grommets from the case, and enlarge a few of the cable management holes. Also drilled a few additional holes for cable management clamps. Here is everything before I took the Dremel Tool to it. I also modified the bottom of the case to accept a 2x120 Radiator. I had previously made some cuts down there, but wasn't too happy with the end result, so started over.
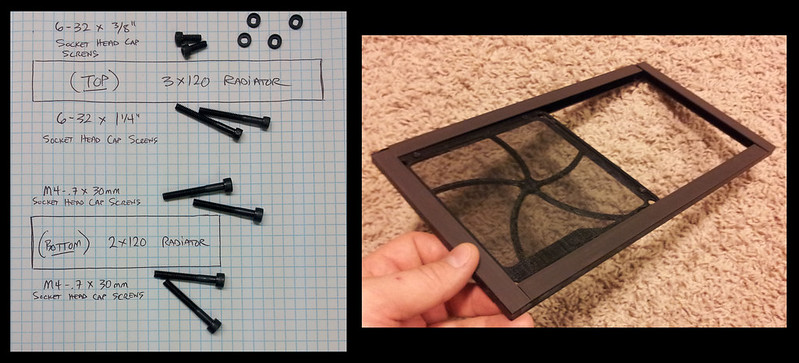
With this big hole on the bottom of the case now, I decided I needed a good solution for dust management. I made using acrylic and Silverston fan filters a custom dust filter to go on the bottom of the case. It secures to the case with magnets, and works great. It only shows 1 filter, but there are now 2 installed. Also showing a diagram here outlining what types of fasteners I used to secure the fans to the radiators, and radiators to the case. I found it strange that my top 120.3 Radiator uses SAE (6-32), but the bottom 120.2 Radiator uses Metric (M4-.7).
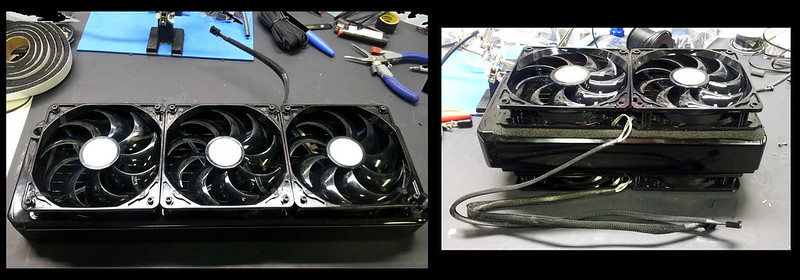
Here is a shot of my radiators with the fans installed. I did some minor sleeving, but didn't want to go through the hassle of actually disassembling the fans. The parts that are not black are hidden from view, so I am OK with how it turned out.
Here we have the opening on the bottom of the case for the 120.2 rad. I used a fan grill to help secure everything to the case, since some of the fastening holes were on the honeycomb grid of the case, and didn't tighten down as much as I would have liked. Picture to the left shows the magnetic fan filter installed over the opening. It is really easy to take off and put back on, and hopefully keeps my case dust bunny free.

Illuminated Vandal Switches
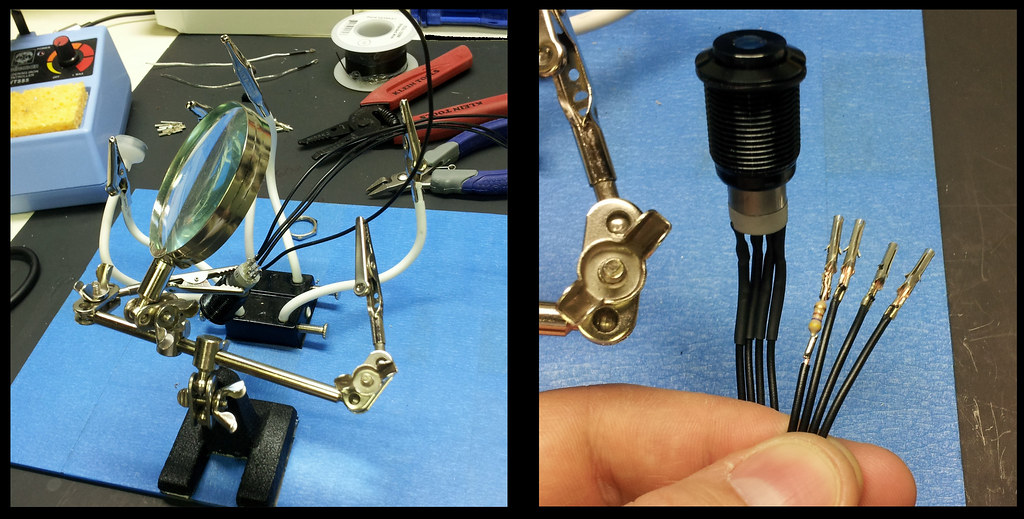
I decided to use some Illuminated Vandal Switches (Latching, 16mm), to toggle on/off both the LED Strip on the interior of the case, and the illuminated mid-panel. Here is a pic during the soldering process. Vandal switch in the death grip of my Octo Helping Hands setup. To the right is the completed switch, along with the resistor so I don't burn out the LED (470 Ohm, .3w, 5% tolerance), and my custom "Quick Disconnect" power connectors. I did end up sleeving it, but forgot to take a picture before I installed them.
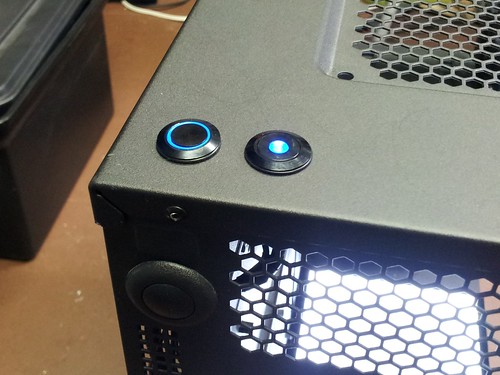
And here they are installed on the top of the case. The one to the left (Blue Ring), is the switch for the LED Strip along the outer edges of the case. The one to the right (Blue Dot), is the switch for the illuminated mid-panel. They turned out really well and work great. Only downside is my 2yr old is a button freak, and now tries to toggle them on/off every chance he gets.
Next set of pics... Illuminated Mid-Panel construction.
No comments:
Post a Comment