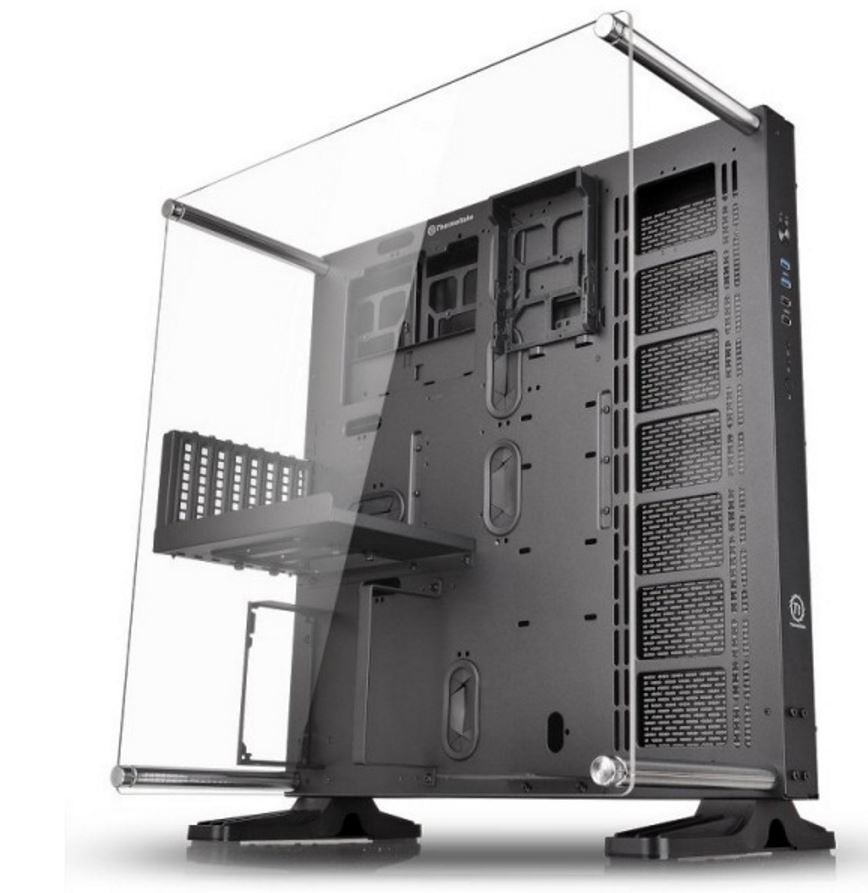
I have been wanting to start a new build for a while now, but none of the cases available were really what I was looking for. I had also been toying with the idea of doing a “Computer Desk” build for a while, but something always stopped me from going down that path. With the release of the Thermaltake Core P5, I found something that had a unique look, and the open nature of the case allows for so many custom options.
It's a very large case, about the same dimensions of the Corsair 800D I am currently using. It also has the option to be wall mounted, but I’m not comfortable doing that with the added weight of a liquid cooling loop. It might work fine, but not a risk I am willing to take. I also feel the case is the best I have seen for displaying the beauty of a well set up liquid cooling loop. The fact that you can also install a GPU vertically is a big plus. I nice looking GPU Block is great but with most systems, you can’t really see it, and I am glad the Core P5 has addressed this.
As far as modding goes, I originally thought there wouldn't be much need to do much….
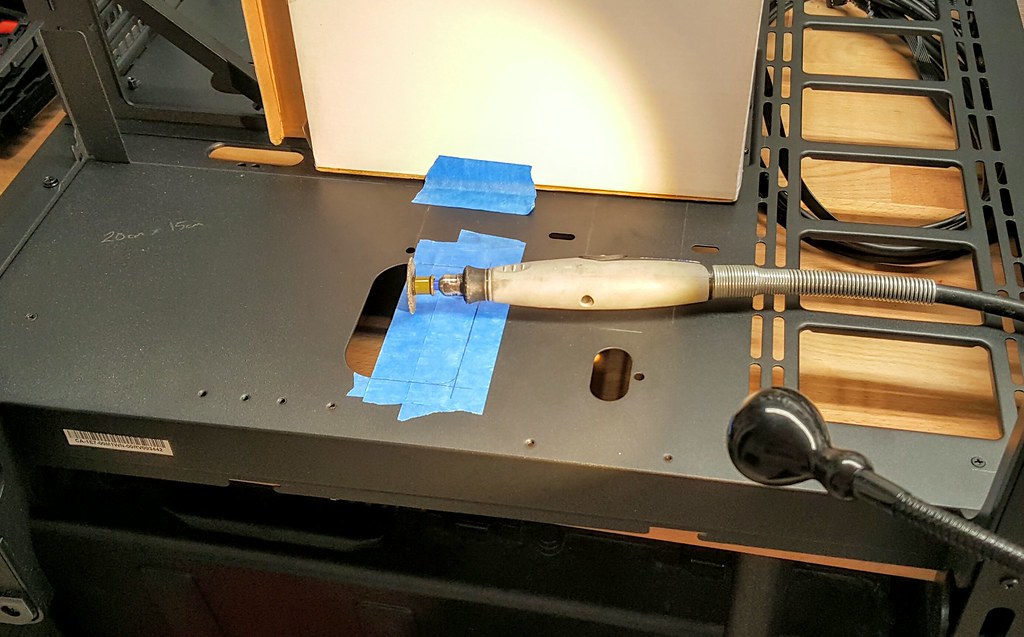
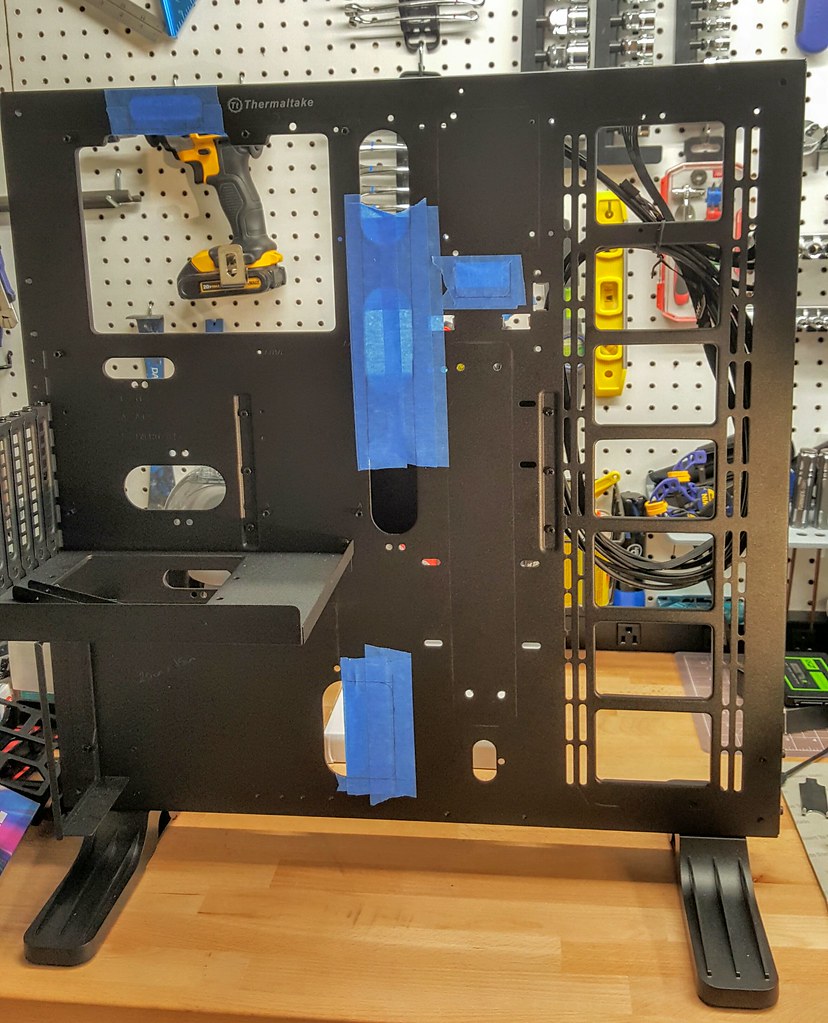
Turns out I was wrong. For most, it probably doesn't need any modding, but for what I am looking to do, it was time to bust out the Dremel Tool.
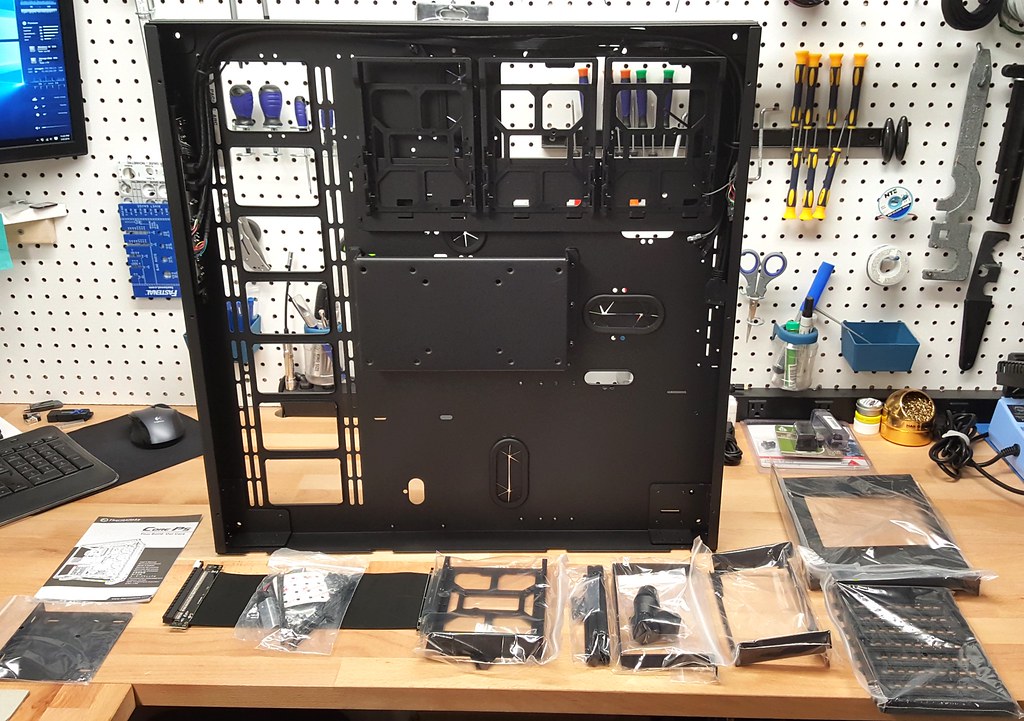
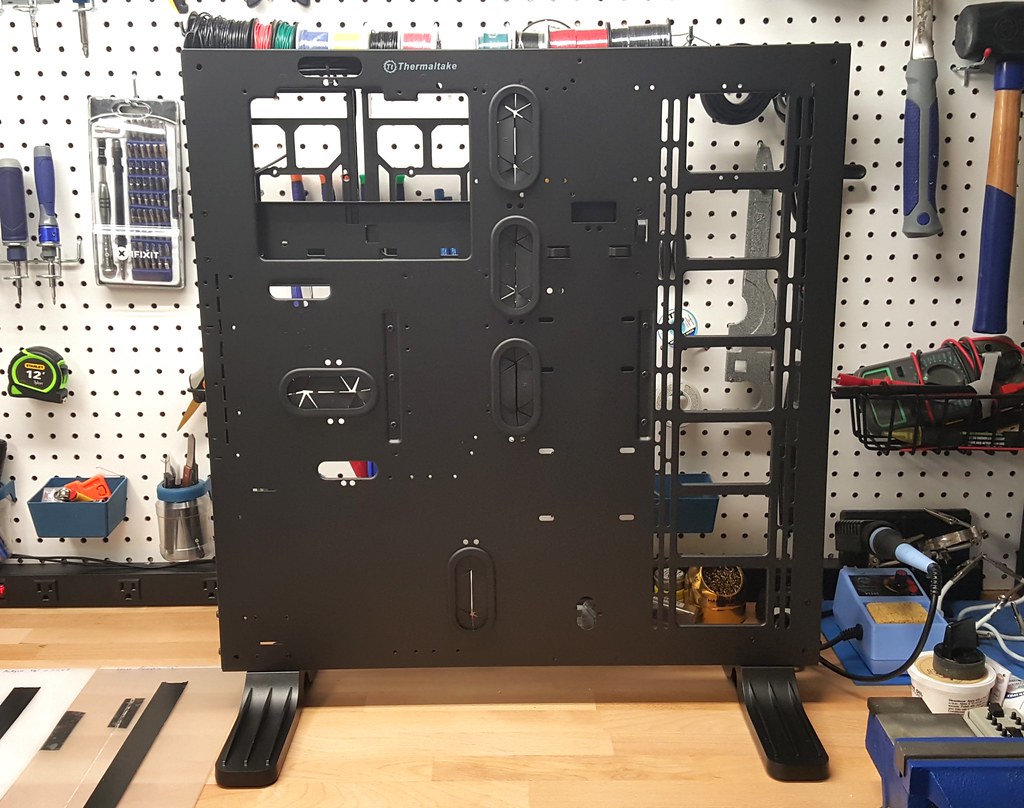
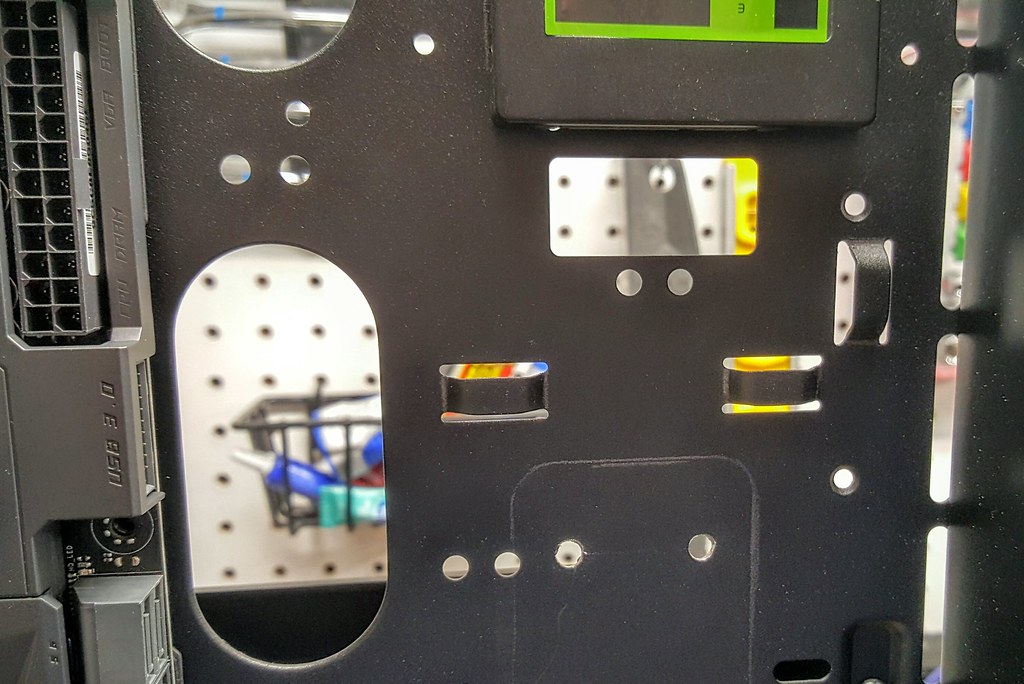
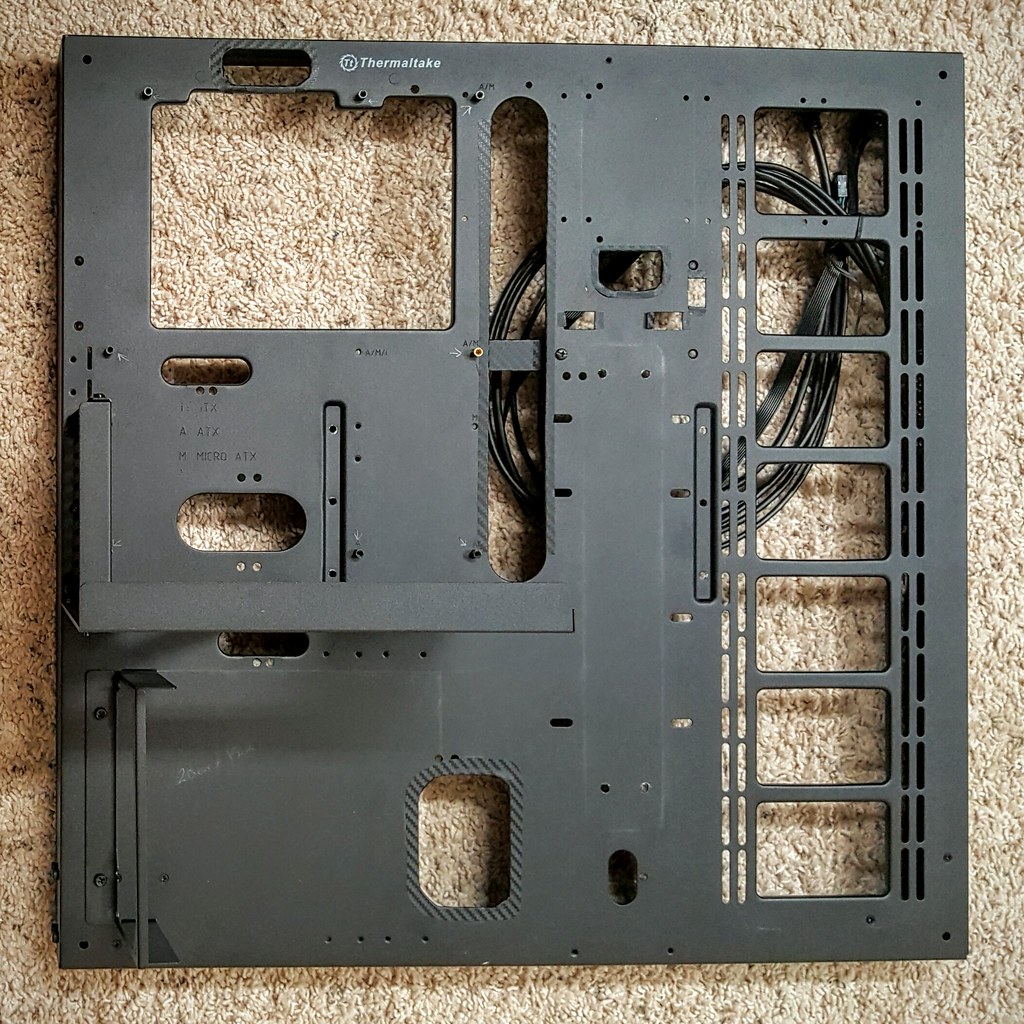
There are various cut-outs around the case for cable routing, and they are not few in number. I was glad to see this, but I quickly found out that a few of the cut-outs don’t line up will with my hardware, and would have to be altered. First up, is the location where you can mount an SSD to the front panel. The existing hole is a bit too tight for my liking to route a SATA cable, so it needed to be enlarged.
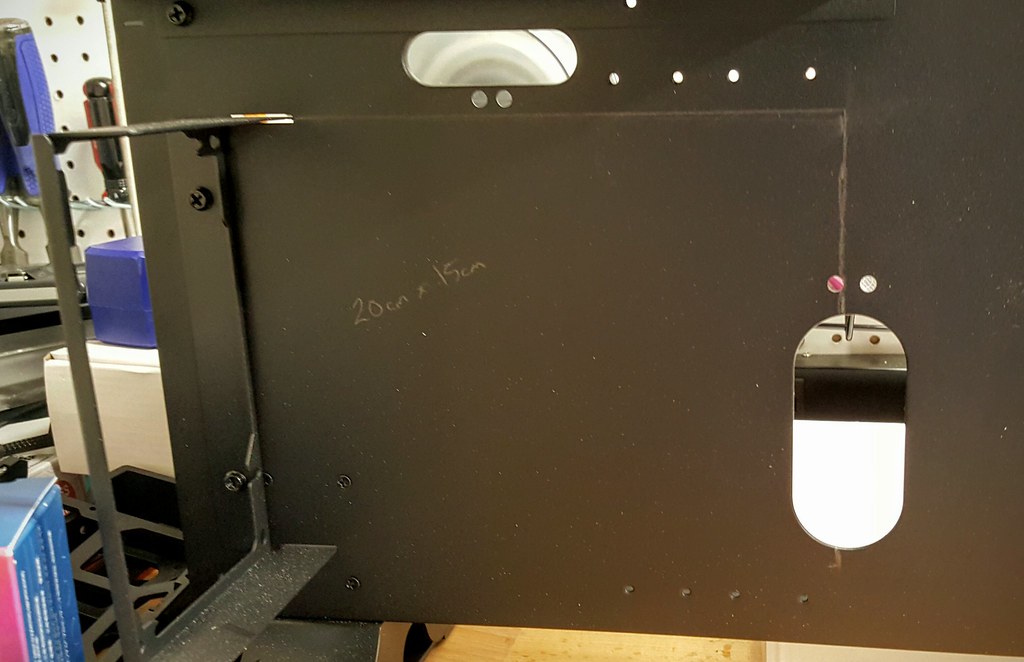
Next up is the power supply. I am using a Corsair AX1200, and it seems to be a bit longer than average. Because of this, the PSU would cover up about half of the cut-out, which would make it difficult to bring sleeved cables through. Needed to increase the size here as well.
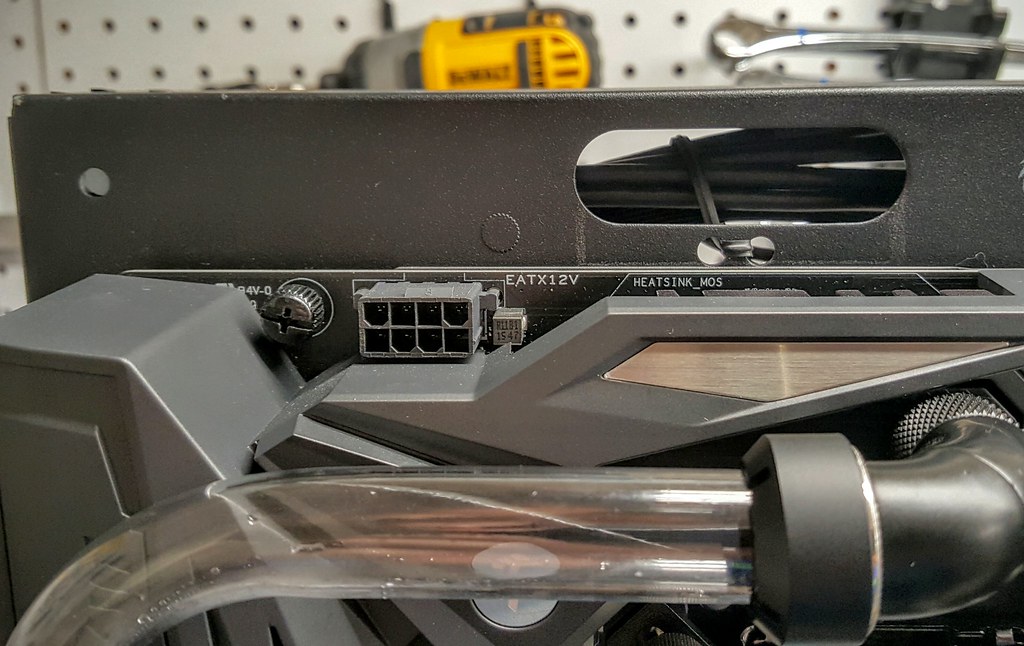
The cut-out at the top of the case to route the 8pin CPU Cable had to be altered because of the acrylic light panel I was building.
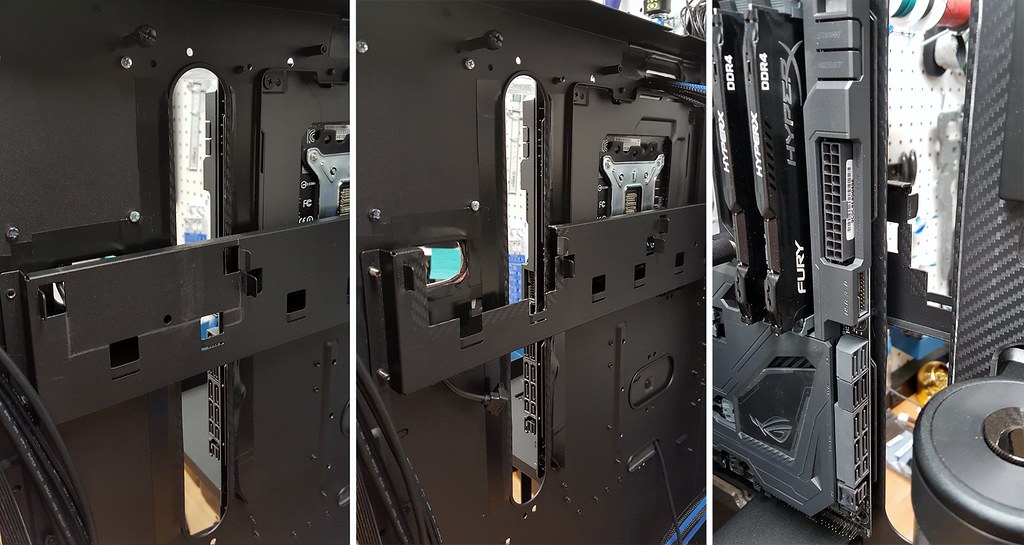
Also had to increase the size of the cut-outs along the Motherboard to have clean bends with my sleeved cables. This may not be an issue with other MoBos, but the 24pin location on the ASUS Maximus VII Formula didn’t line up well with the existing cut-outs. It would have still worked, but to get the look I was going for, needed to be altered.
The cutting went well, and I will now have a bit more freedom to route cables specifically the way I want. Structural integrity of the case seems to be fine, but as mentioned before, no wall mounting for this build. Then went ahead and filed down the cut edges to be smooth, and as a precautionary measure, also wrapped all cut edges with a carbon fiber patterned adhesive vinyl.
Ended up making 1 additional cut along the HDD support bar. Reason was again to provide easier routing of 24pin sleeved cable.
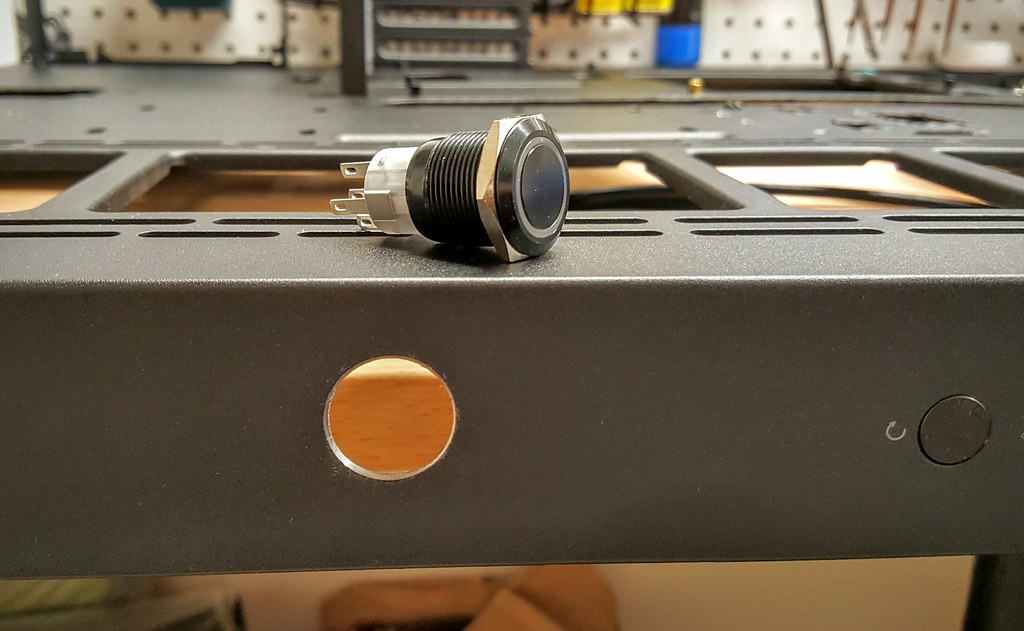
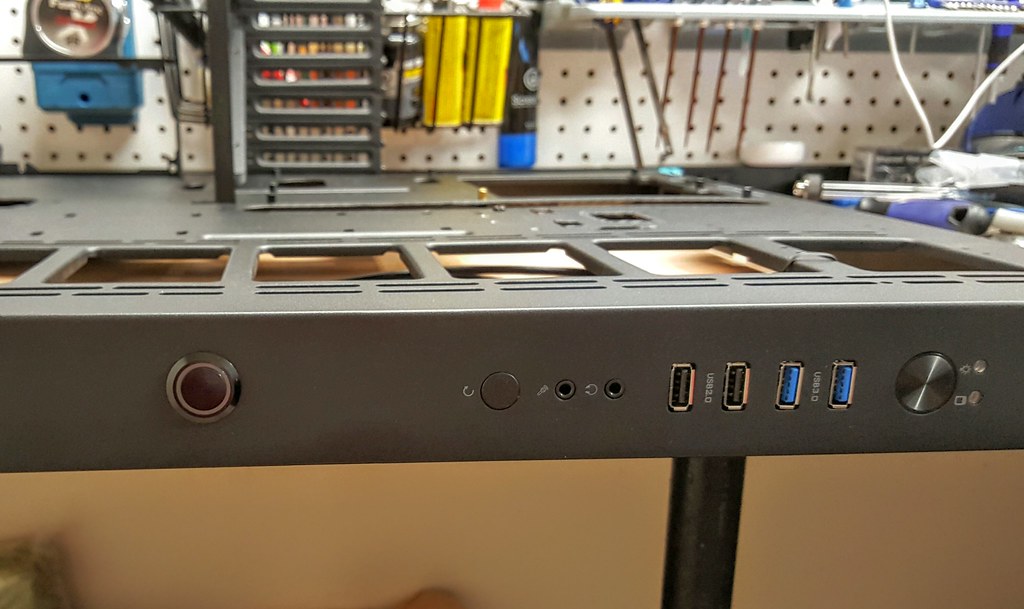
Even though the ASUS MoBo can control the system lighting, I wanted a push button switch to turn the lighting effects on and off. Will be using a 22mm Blue Illuminated Vandal Resistant "Latching" Switch for this purpose.
Used a Step Drill Bit to make the hole.
It seems to have slipped a bit and its not perfectly centered, but not much I can do now, and it still looks fine.
Next up, custom lighting and acrylic testing!


No comments:
Post a Comment